
As much as I try to get my blog posts done in time, life has a way of messing everything up. This came in the form of an unwanted Christmas gift. Donald and I were both dealing with man-colds over the last week but we did still manage to get some work done.
Where to start?
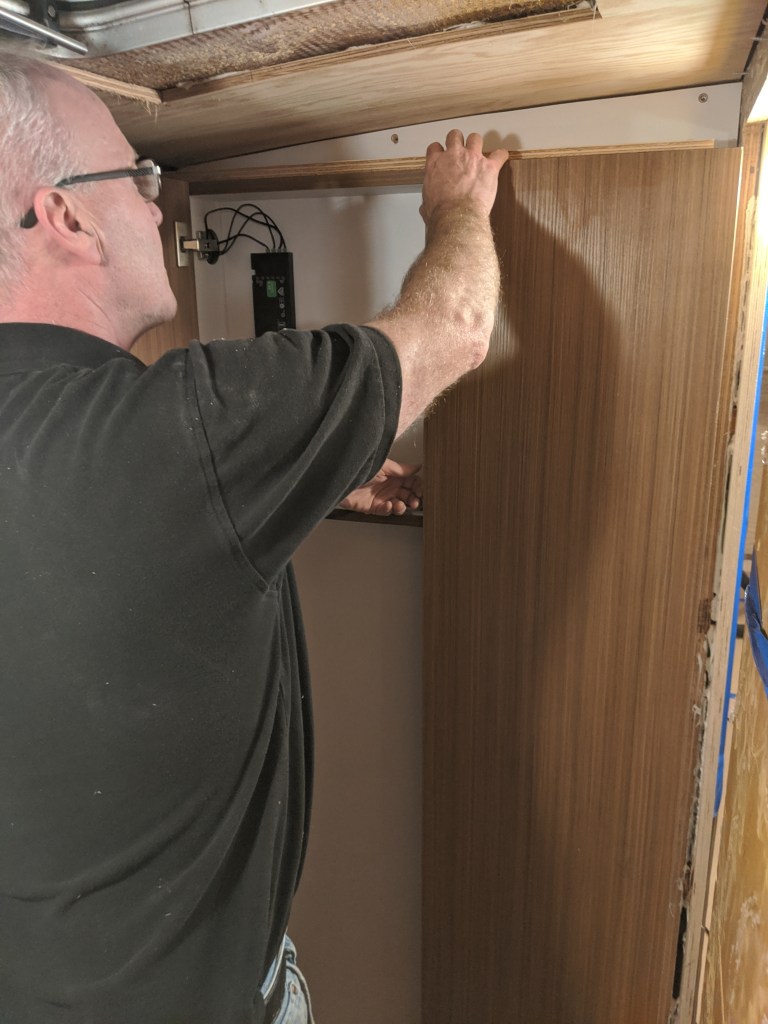
We decided to continue on with the storage area in the former ensuite head which is now referred to as the v-berth vestibule. Sounds very fancy. In the last post we built and installed the frame for the wall cabinet. This had to be a very shallow unit because we still had to be able to get into the area to enter the v-berth.
This past week Donald installed the doors to the cabinet.

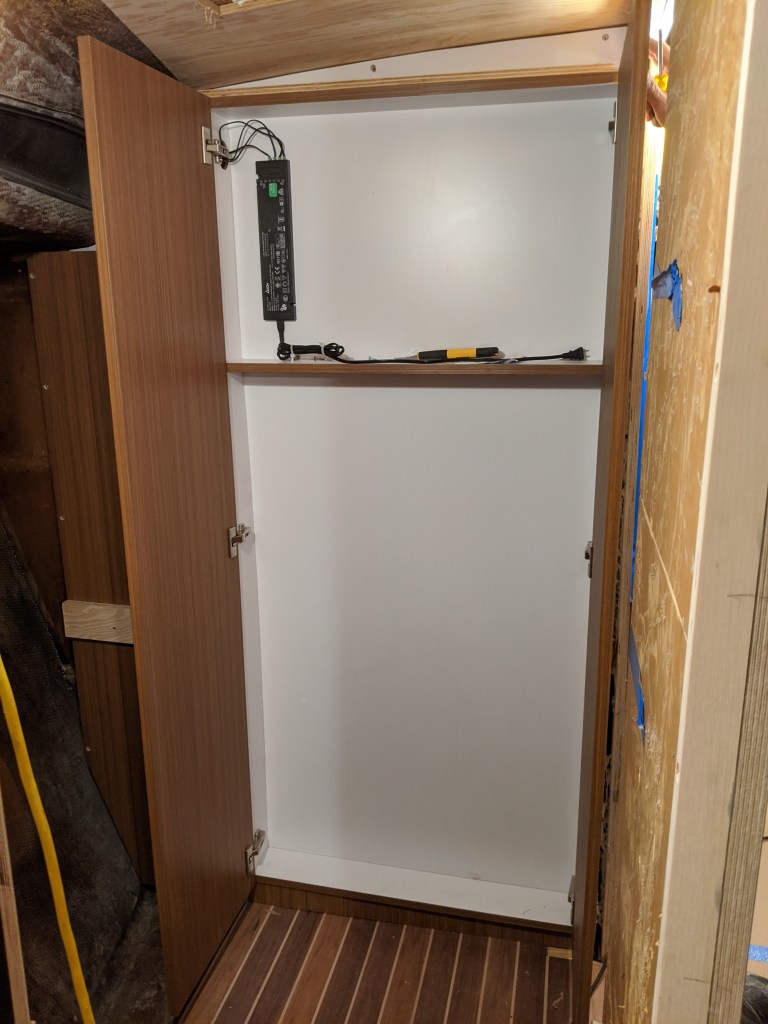

We then fitted the lower storage area on the left. This is very shallow due to the angle of the hull. The plan is to have small items stored here like cleaners and toilet paper. On top of that is a piece of plywood which will be the substrate for a Corian top. On top of that and set back from the edge will be a wider, and deeper, storage cabinet.
In the upper left corner you will see that we didn’t fill in the panel. This panel will be removable so that we can feed low voltage wires to the drivers in the cabinets after we finish the vestibule.


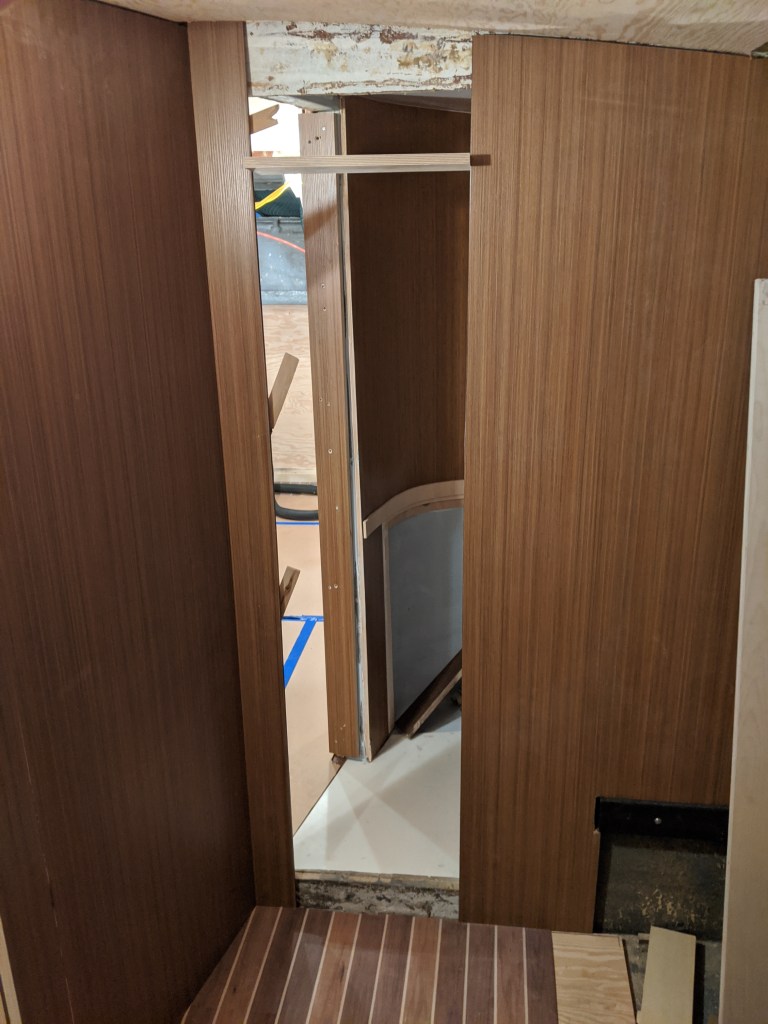
We also added another panel to the mid-berth bedroom.

It takes a while to install a custom panel like this one. By the time we made the cardboard template, transferred that to the full sheet, cut it out, fitted it, took it down again to modify it (sometimes 2 or 3 times…this may destroy the illusion that some of you might have that we get it correct every time) and glue it in place we could easily spend 2 hours. A day could be spent just getting 4 panels done.
In this opening we will be putting a glass panel with a frosted film. This will help allow light to filter into the bathroom from the bedroom and not make the living area seem too closed in.
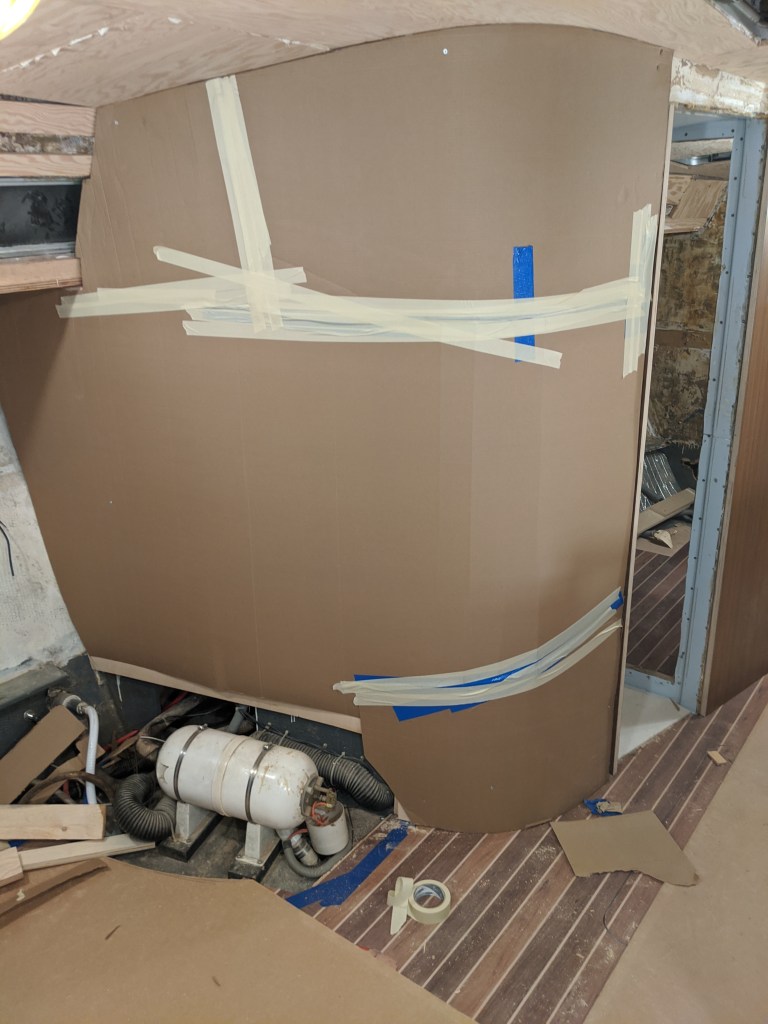
We also made a full size cardboard template for the curved wall. We still have one more layer of bendable plywood on before we finish it with plastic laminate. The template is critical here since we have to fit it to the floor and come within a 1/8″ of the ceiling. Not much room for error.
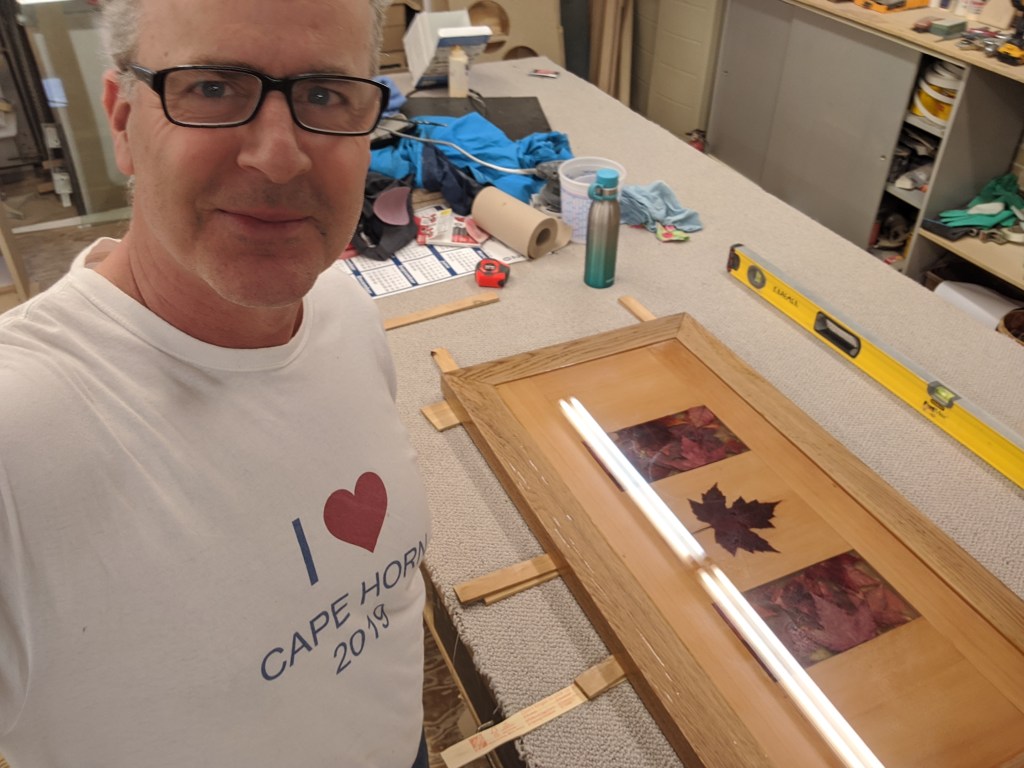
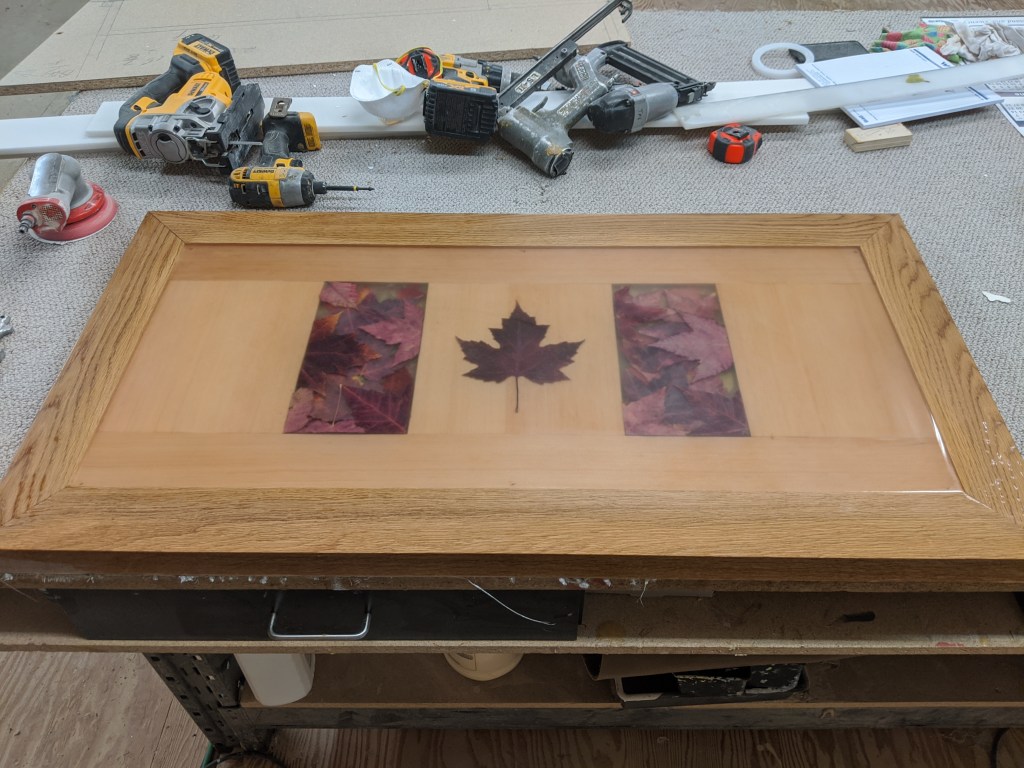
I did some more work on the Canadian flag table. I added a few more layers of epoxy and did a final sanding to level it all out. In the next few days I will pour the final layer.
I think I mentioned before that the table has to be level.


In this photo I just finished pouring the final layer of epoxy to bring it flush with the oak frame. I forgot to take a full size photo of just the table so you have to settle for a selfie. The white stripes are a reflection of the lights in the ceiling.
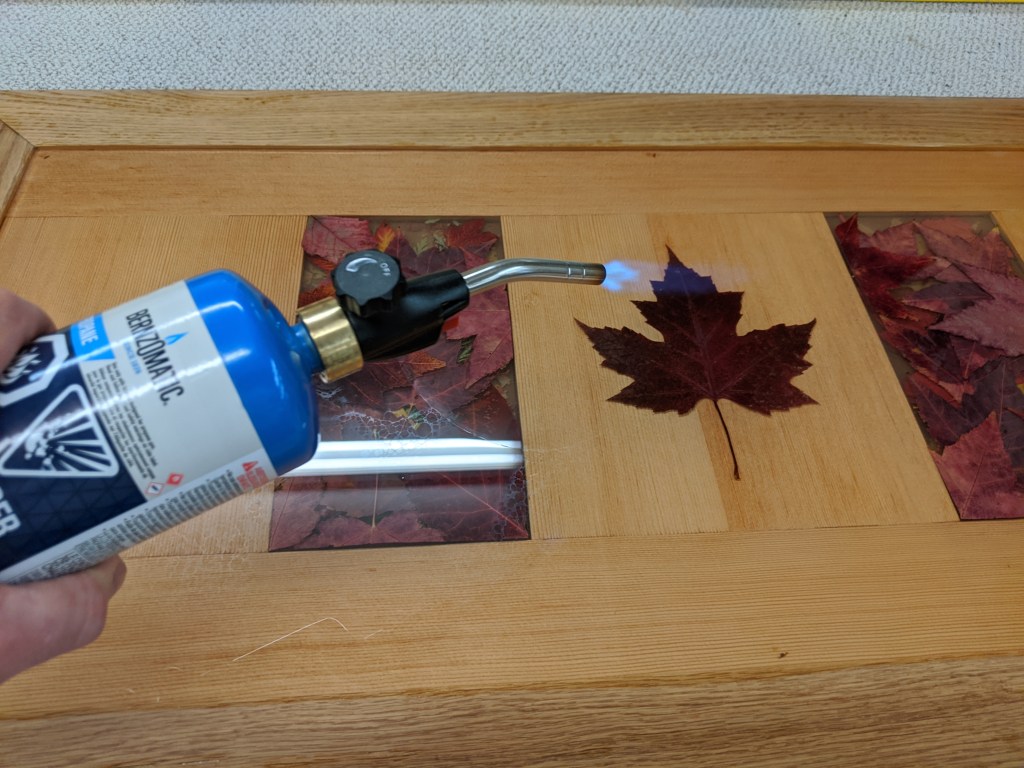
A propane torch is used to get rid of air bubbles.
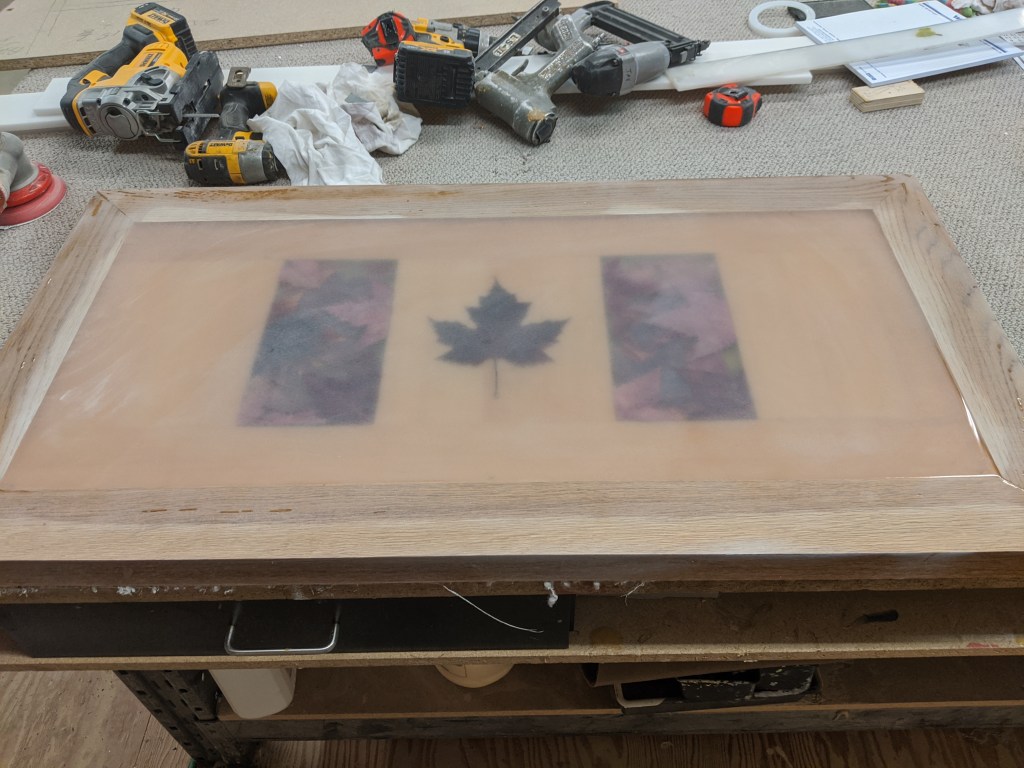
I waited a couple of days to put the table through a thickness sander to even out the surface. I then sanded it with 200 grit and 400 grit to get rid of any scratches.

Cleaning it with a wet cloth seems to make it clear but it still is really a matt finish.
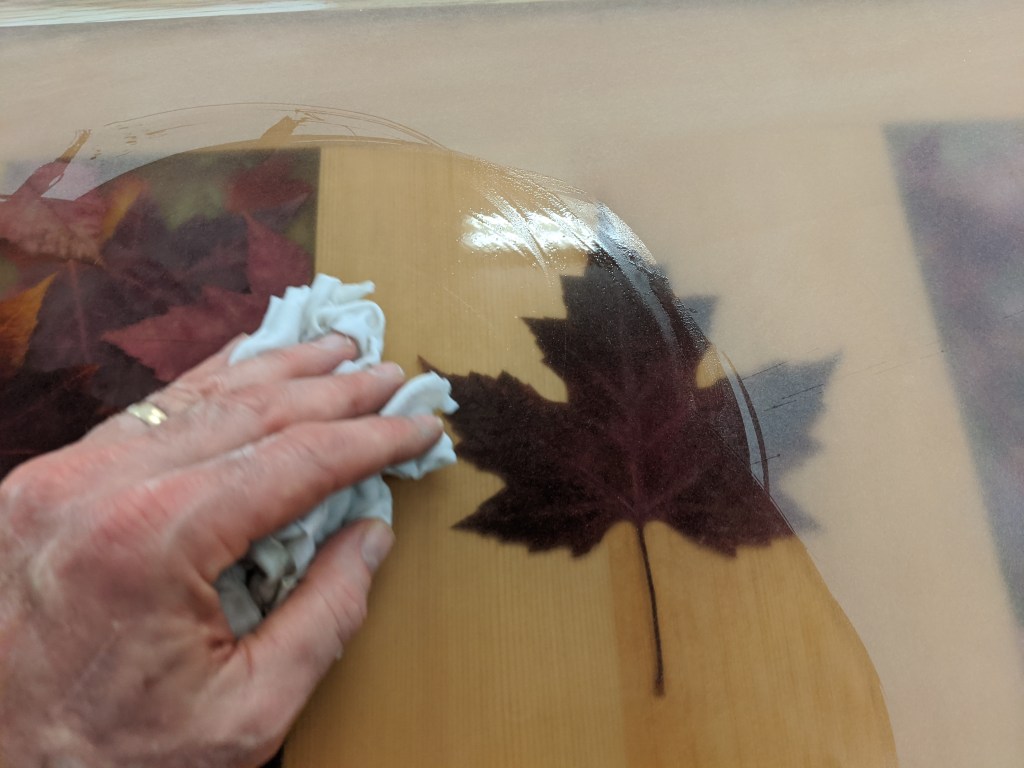
It is now ready for the final coats.
Looking forward to the first boat day of 2020!
Happy New Year

Looking forward to seeing the progress in person in the spring. The maple leaf table is awesome.
LikeLike
Looking forward to your visit too. Hope your arm is better by then.
LikeLike
Happy New Year Betsey!!! Can’t wait to meet you! Hopefully in 2020!
LikeLike
It had better be in 2020. She will be disappointed if it isn’t
LikeLike
Love the flag table. I also understand the amount of time it takes to do things right. Nice work!!
LikeLike