
We were able to get 4 full boat days in this week so this post will be a long one. Feel free to go ahead and get some popcorn and a drink…I’ll wait!
Since the clock is ticking on this project (there are now 38 days until Becky gets taken away) we decided to put in a few extra boat days this week. We haven’t actually written it down but we do have a long list of things that have to be done before June 15th. So when I got to the shop on Tuesday morning I found that Donald decided to add one more to the list.
He decided to completely tear the transom door apart!

Of course the door desperately needs work (it wasn’t one of the best features of the 1987 Sea Ray 460 Express Cruiser to start with) and he did say he will work on it in his spare time!

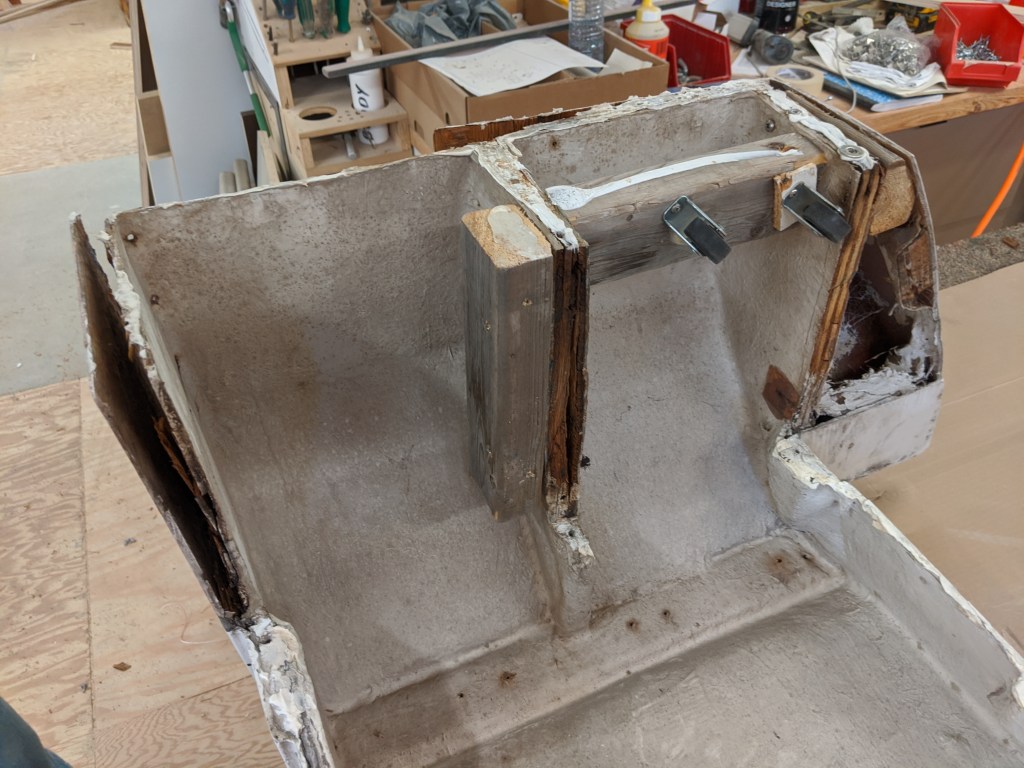

He will have to rebuild the door from the inside out. All new plywood and some new fiberglass finishing it off with gel-coat.
We also decided to throw caution to the wind and get Becky stripped down a bit for spring by removing the bow section of the winter cover. It may have been the weather but after we took it off it felt like we were actually going to get this done in time. Almost as if we passed a huge psychological hurdle.

Since it was such a nice day we decided to do some work on the exterior. Donald spent some time fitting the Ipe cap on the transom.
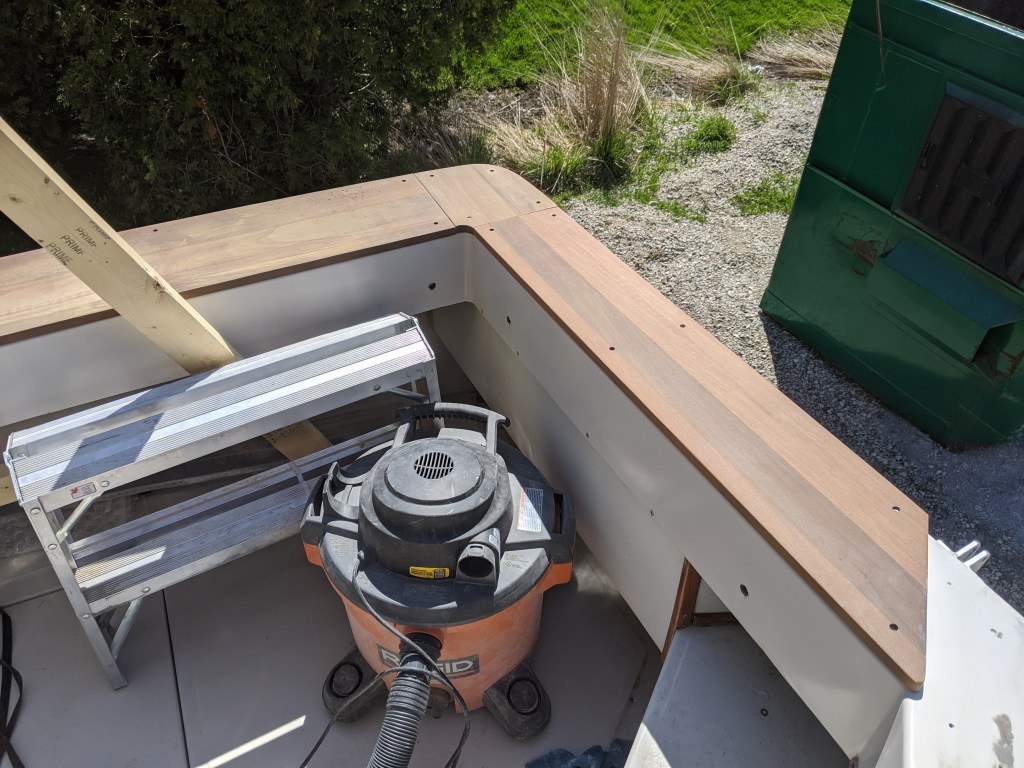
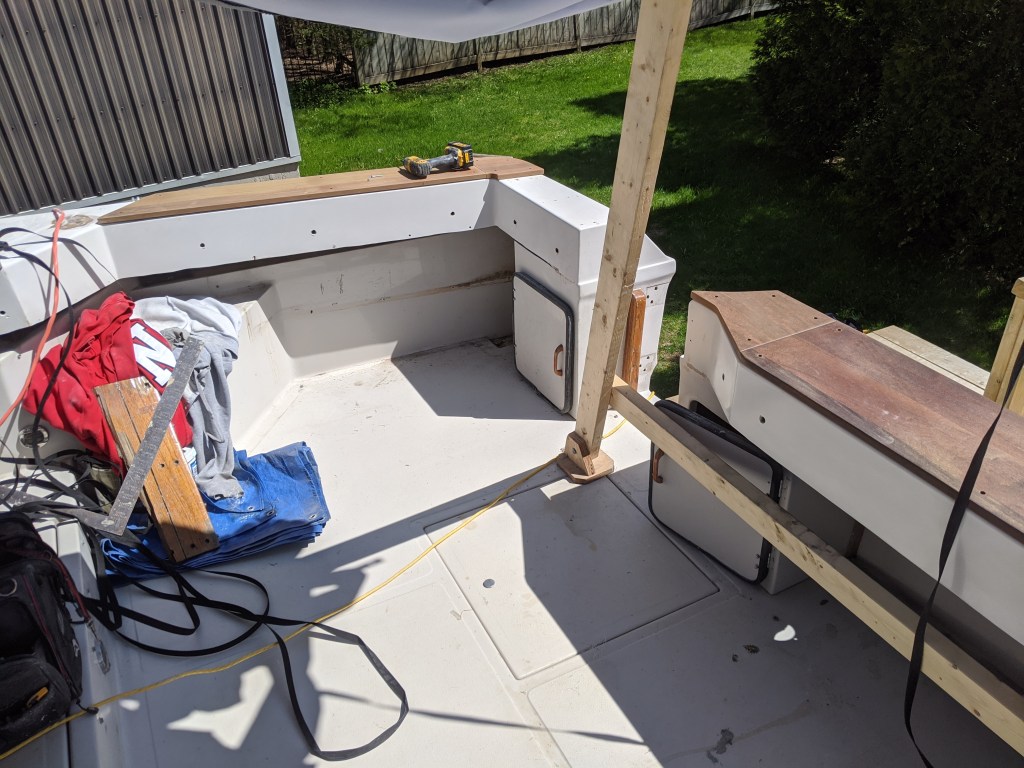
At the moment they are fastened into place with screws. Next week we will use some white Sikaflex to glue it down. This is a once and done thing. The next owner can deal with trying to take it off if they want.
With the front section of the winter cover gone we could finally see how the living area looks with natural light.
It looks really great!

Donald also worked on the removable panel behind the helm. We wanted this to blend in as much as possible and didn’t want to see exposed fasteners. I found these magnetic locks on line and we figured two would hold the panel in place.
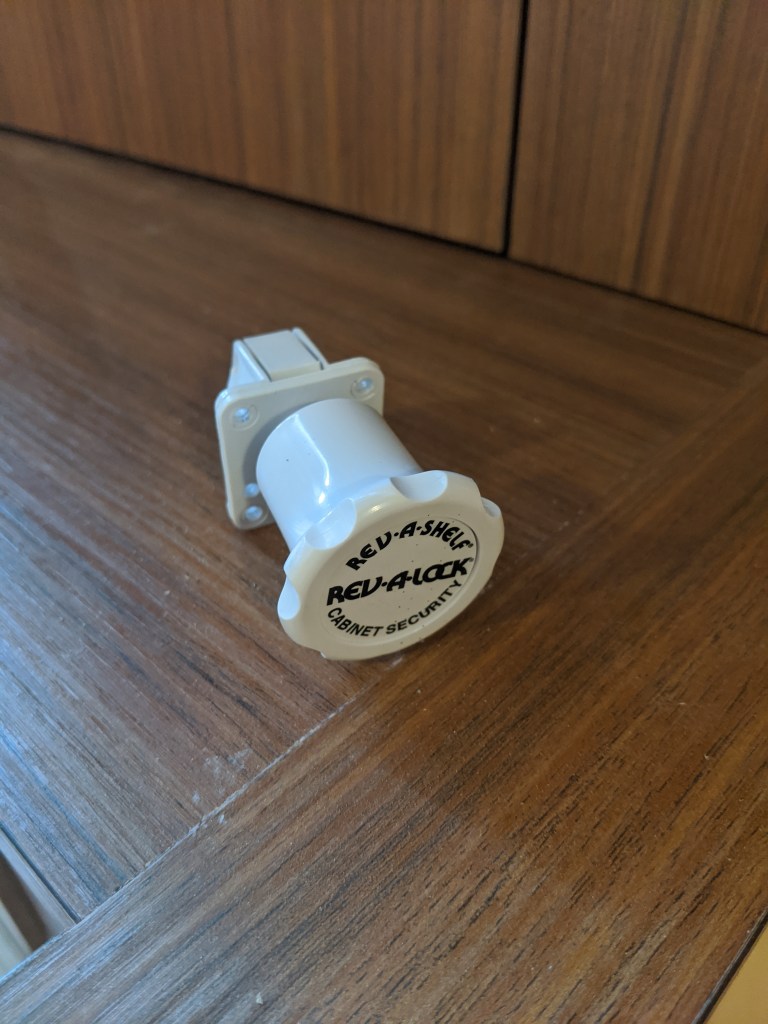
It works perfectly.
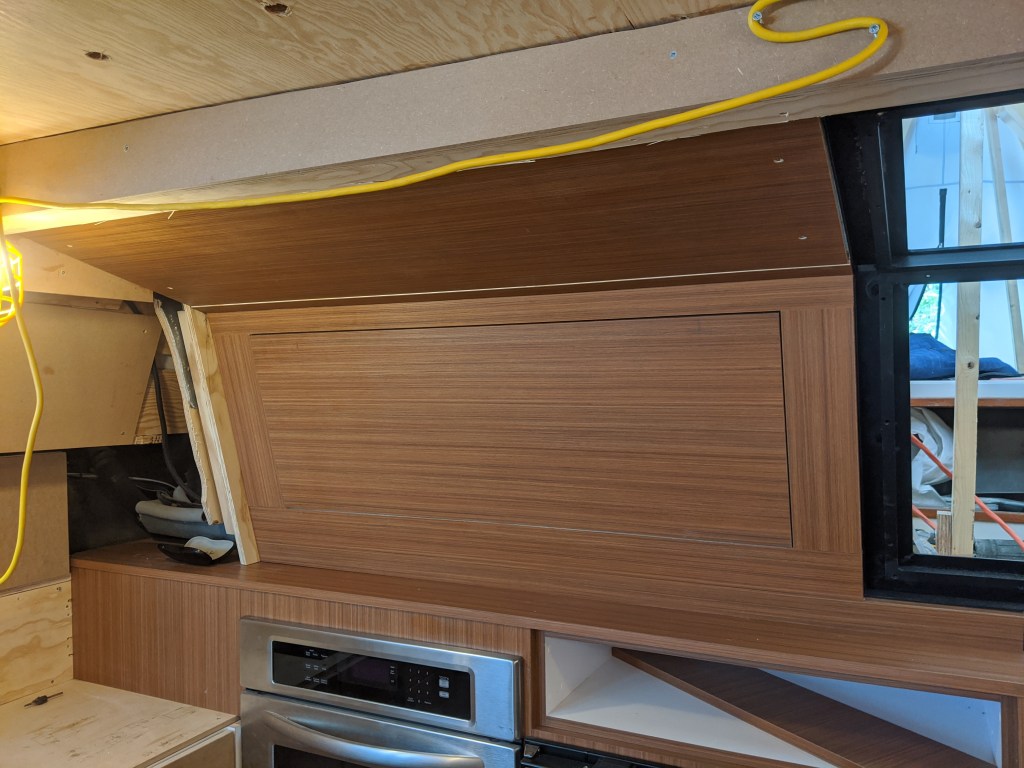
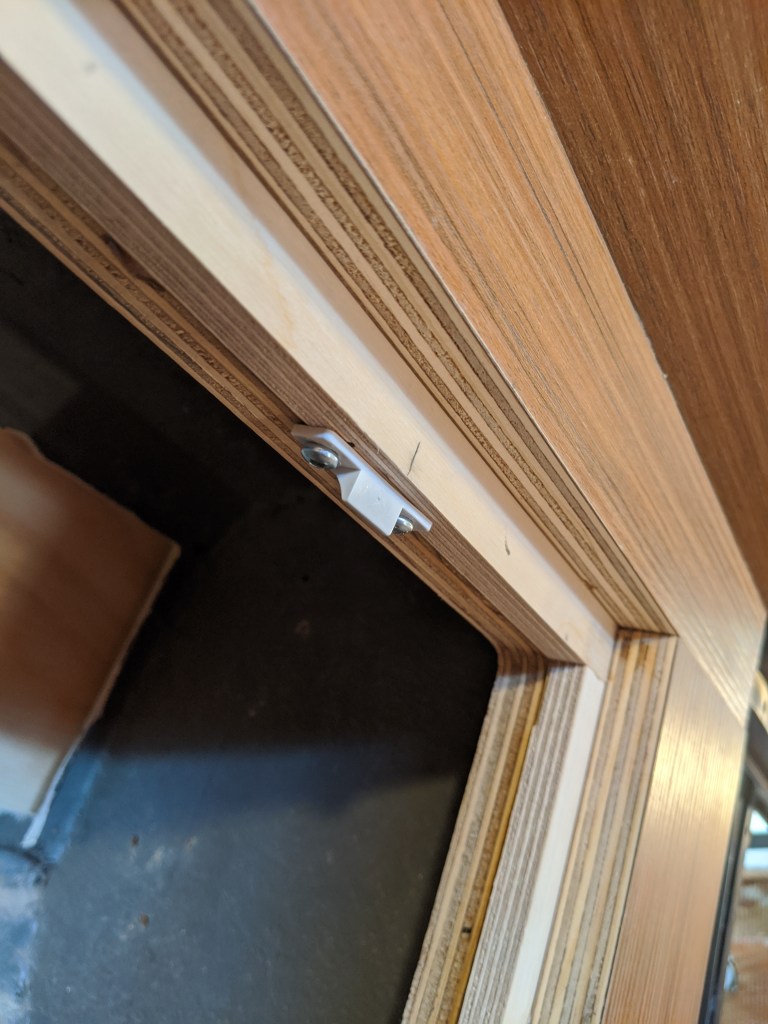
There are two panels that, when removed, will give us complete access to all of the wiring behind the helm.
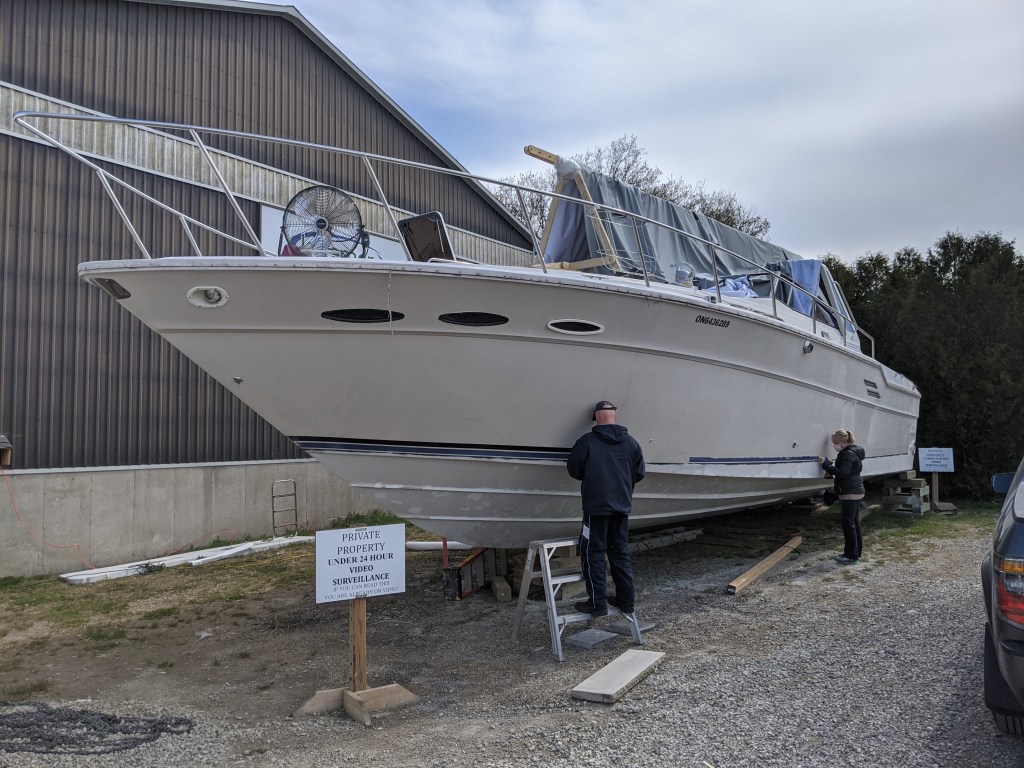
We had a couple of visitors this week. With the arrival of nicer weather, that competent couple of construction… that dynamic duo of design…. Tom and Chris, showed up to help.

We put them to work outside to make sure that we maintained the proper physical distance. One of the big jobs ahead of us was removing the old pin striping and luckily these two were willing to take on any job asked of them.
The sun came out later so they were able to start filling the small pockmarks in the gel coat on the transom. We are hoping to get the swim platform installed in the next few weeks so we will need to get that part of the hull primed and painted soon.

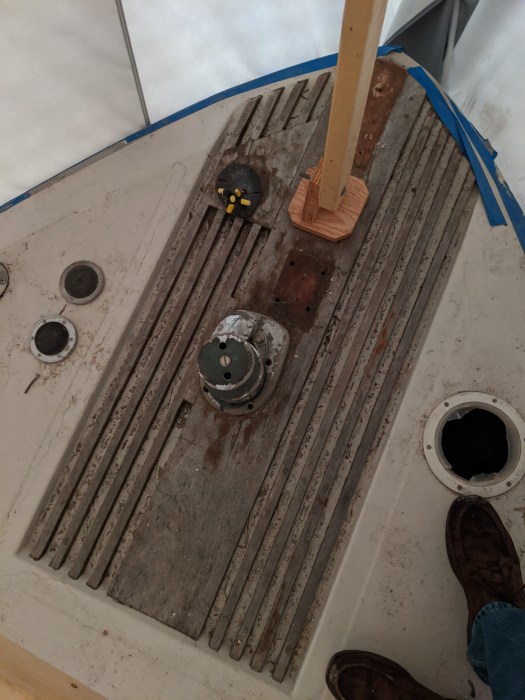
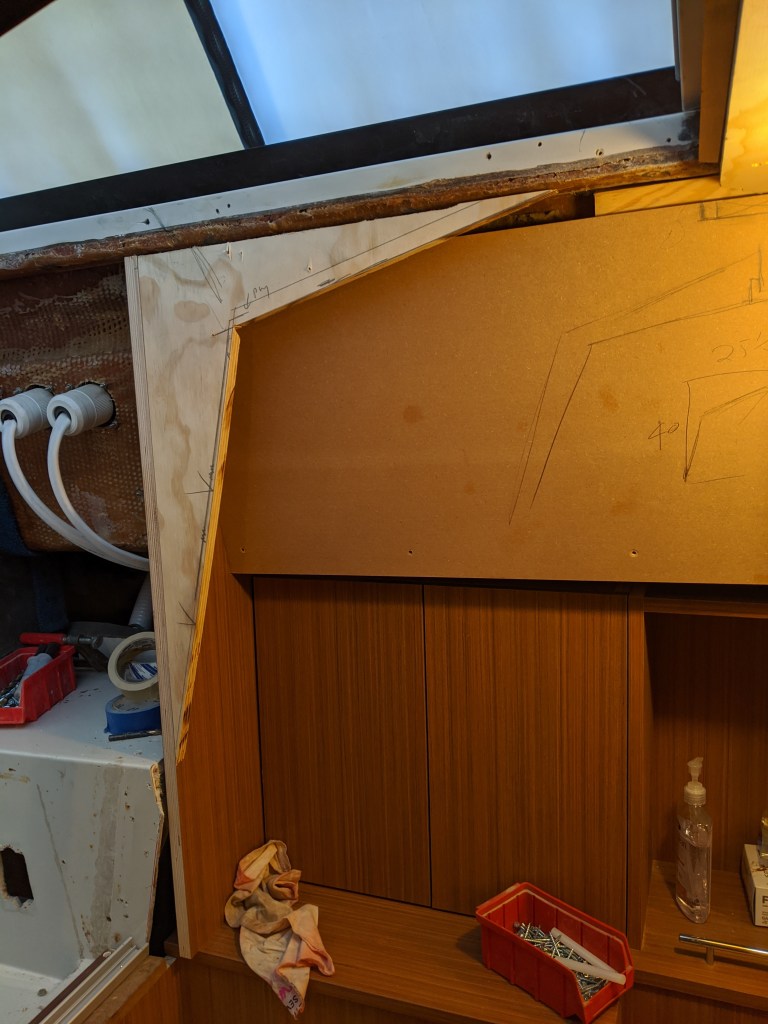
With the winter cover off the bow we had the opportunity to get some more work done in the windlass area.
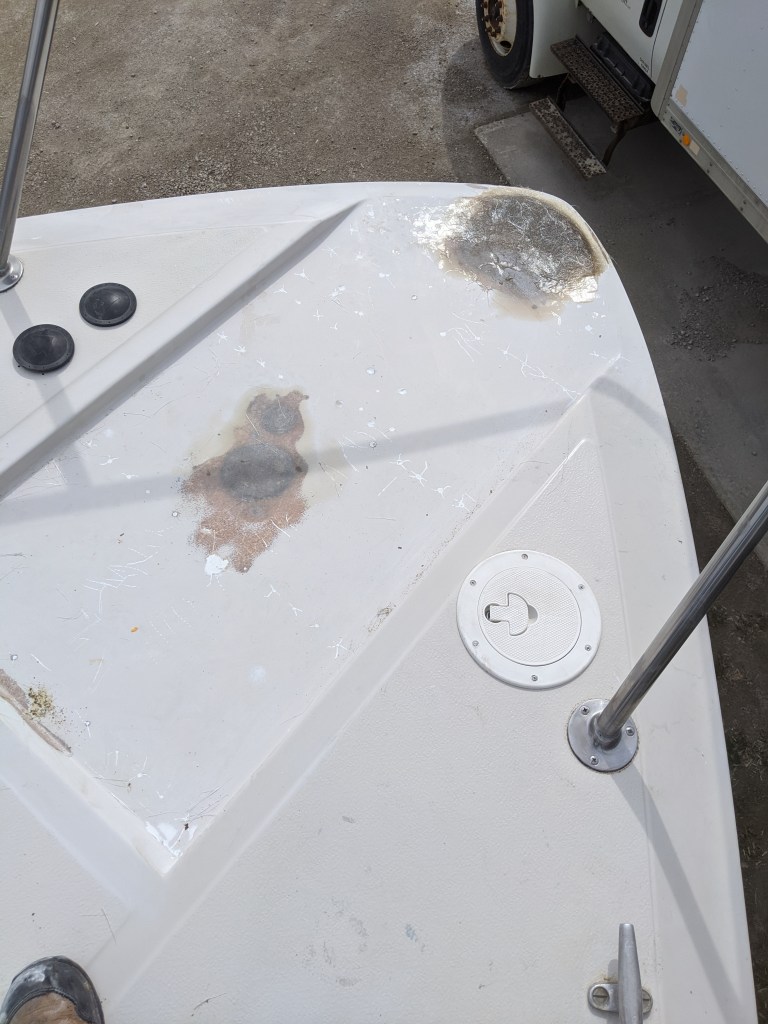
The repair to the damaged area at the bow is going well. The only thing left to do is build up the fiberglass to create a bit more of a lip to match the existing profile. I drew a line to mark where a slight curve begins and ends at the gunwale. Once I’m done I will be able to apply the gel coat…then the Ipe…and then the windlass.

This is what it looked like originally and will again when we are done only without the giant hole, the dried out teak and the broken windlass. It will be the same … only different.
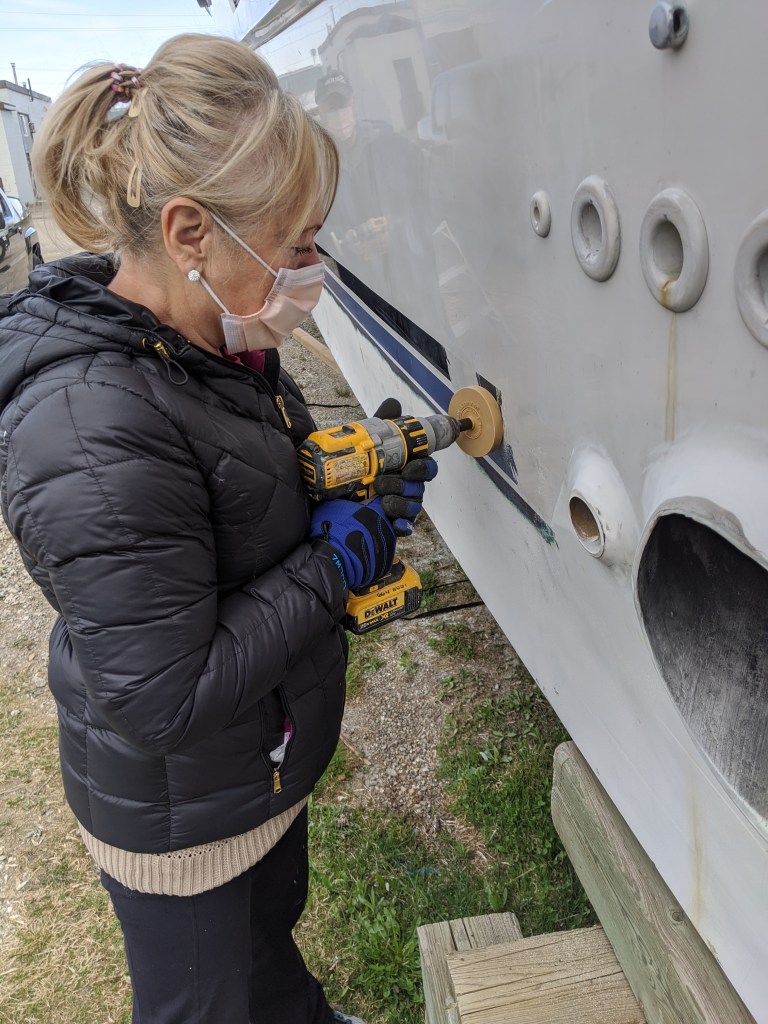
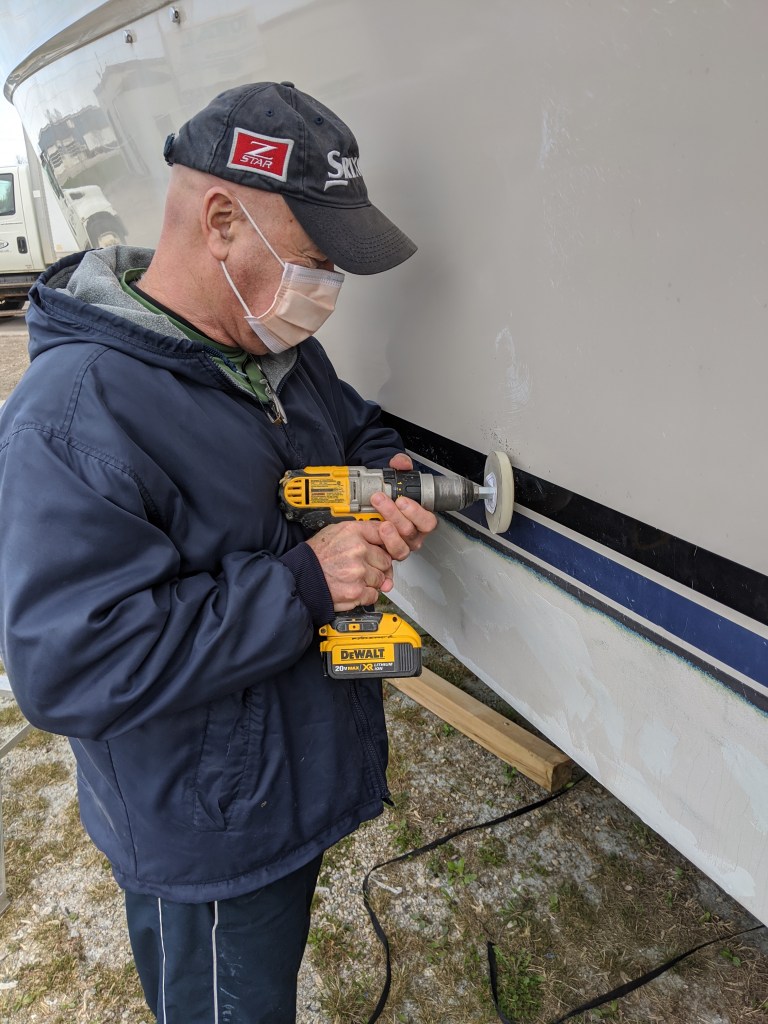
Another project that we added to the list was re-bedding the posts for the railings. Since we aren’t able to completely remove the railings, and we still have access so that we can remove the bolts from the bottom plates, we thought that we would take this opportunity to reseal the fasteners.
In this photo you can see a typical bottom plate. The nuts on the underside of the hull were difficult to take off and this was definitely a 2 person job.

Once we removed the bolt I cleaned the hole with acetone and then injected some Sikaflex 291 making sure the entire hole was filled. The ideal situation would have been to carefully put the bolt back into place and tighten the nut from underneath except that Donald couldn’t do anything apart from just making sure the nut didn’t turn as I tightened it from the top. We managed to get 4 posts done in half an hour. Only 14 to go.
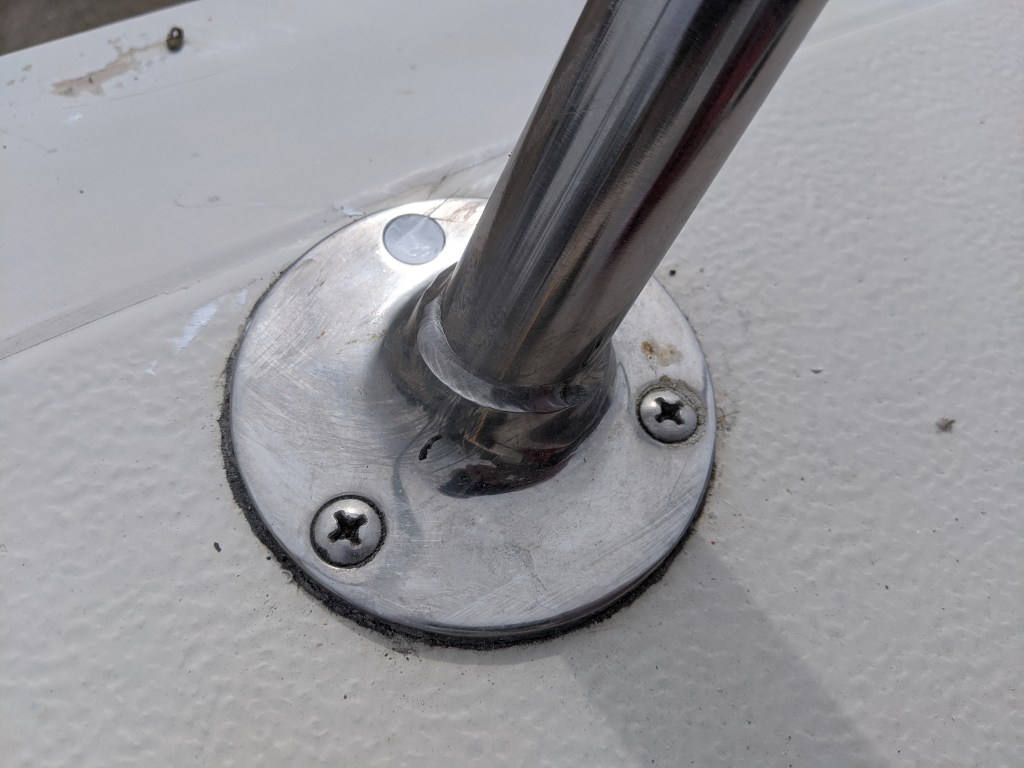
Here you can see that the machine screw is now sealed…hopefully.

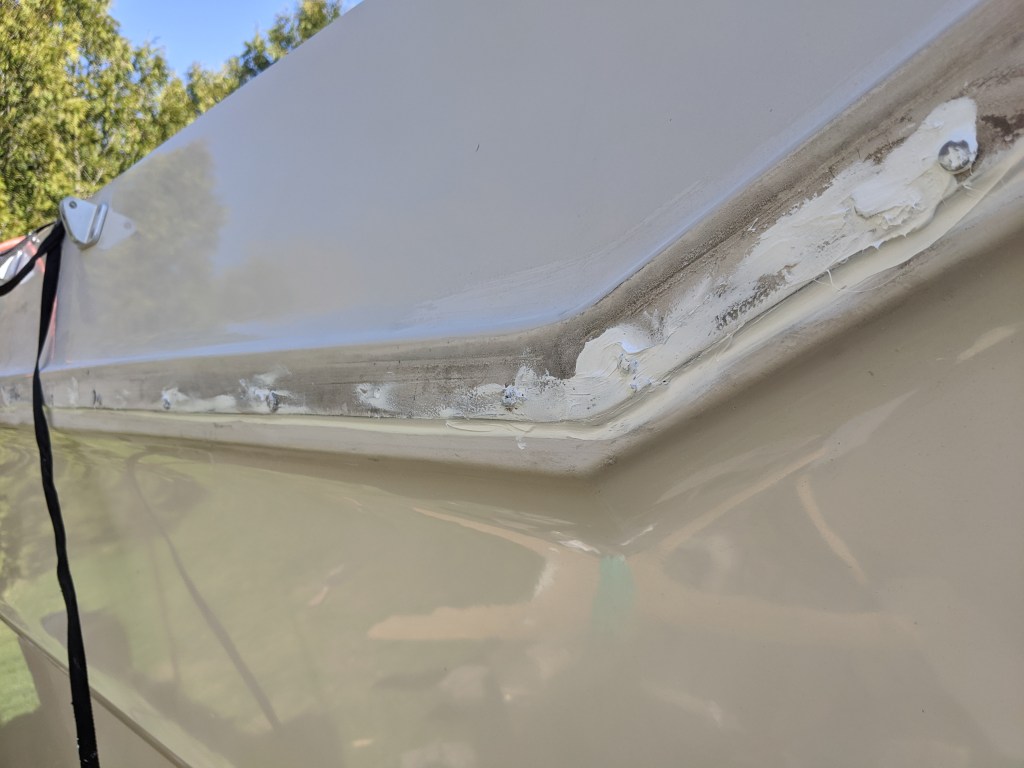
After Tom finished with removing the pin striping he used a wire wheel on a drill and removed all of the old sealant from the gunwale. It may not look like it but this is a huge improvement.

I started to reseal the gunwale and existing screw holes with white Sikaflex. It doesn’t have to look pretty since it will be covered with the hard rubber bumper rail.
I couldn’t resist taking this shot.

I ordered a new sliding door track and it arrived this week. I took a chance based on some photos on line and was really hoping that this one would work. Thanks to Ben at FP Marine in Florida for helping me out. It uses a couple of balls in the bottom track and glides in the top.
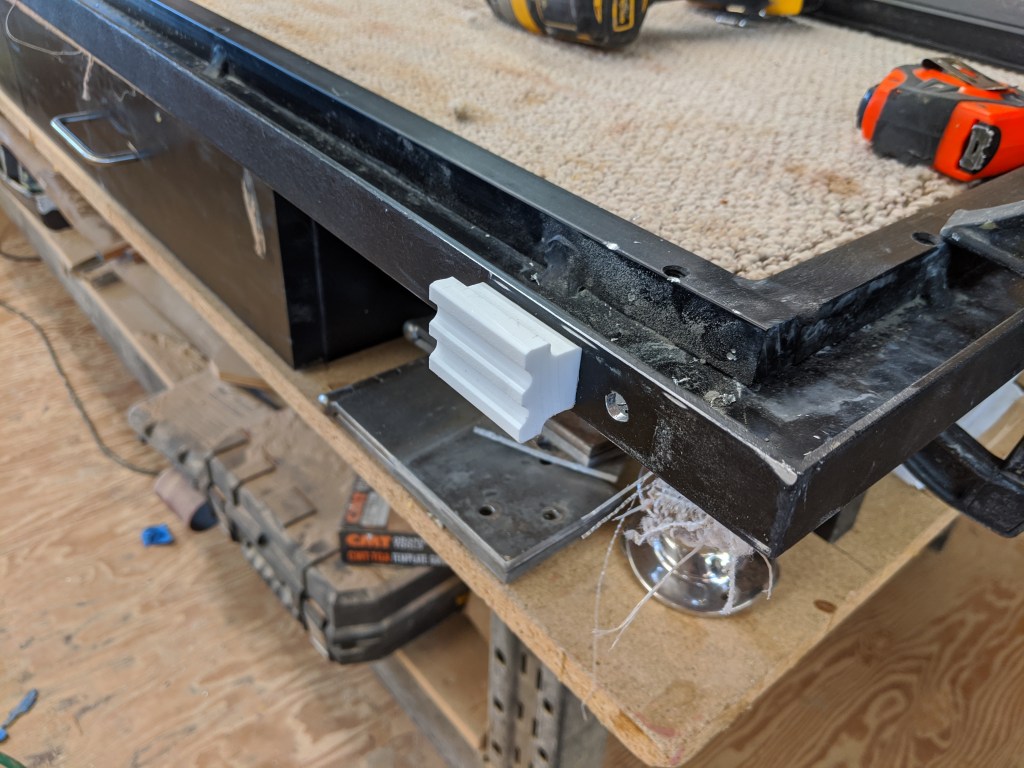
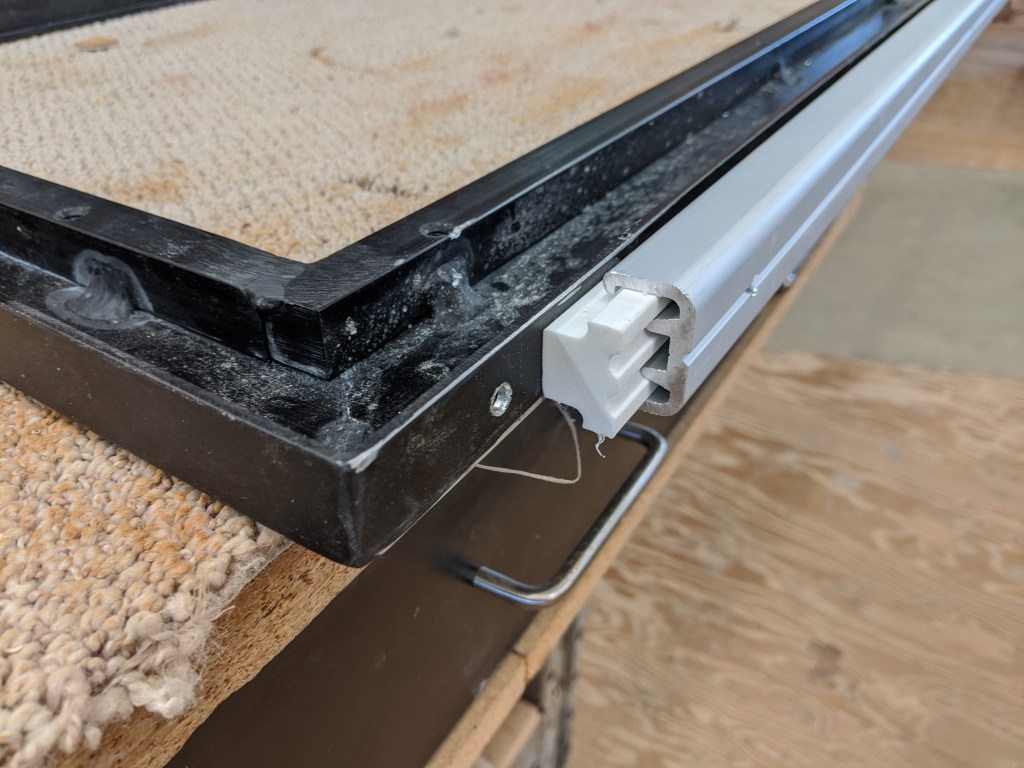
We still have a bit of adjustments to make but it works well.
Now we measure for the mirrored stainless trim. Probably won’t see that for a few weeks.
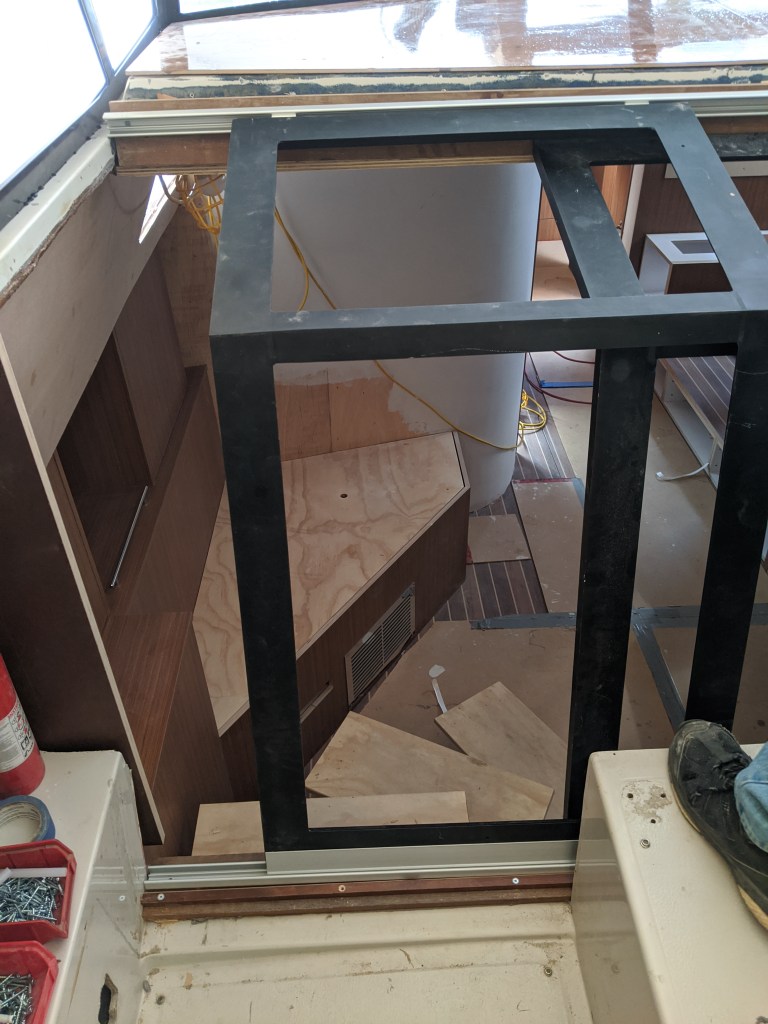
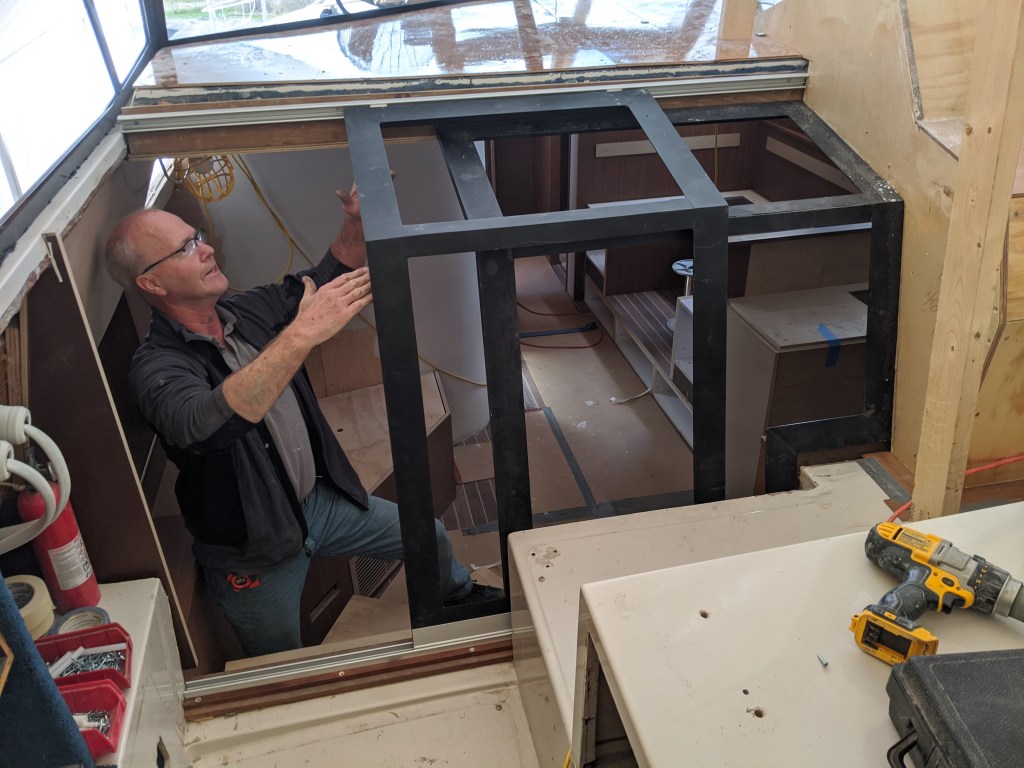
Another great success this week was we were able to install the windshields and put in 3 pieces of glass.

The glass isn’t sealed in place yet because we ran out of time and also because this happened…
Yeah…I know! This is Canada. A week ago I was wearing shorts and now we got this one last dose of winter. We woke up to about 2 cm of snow on the ground.
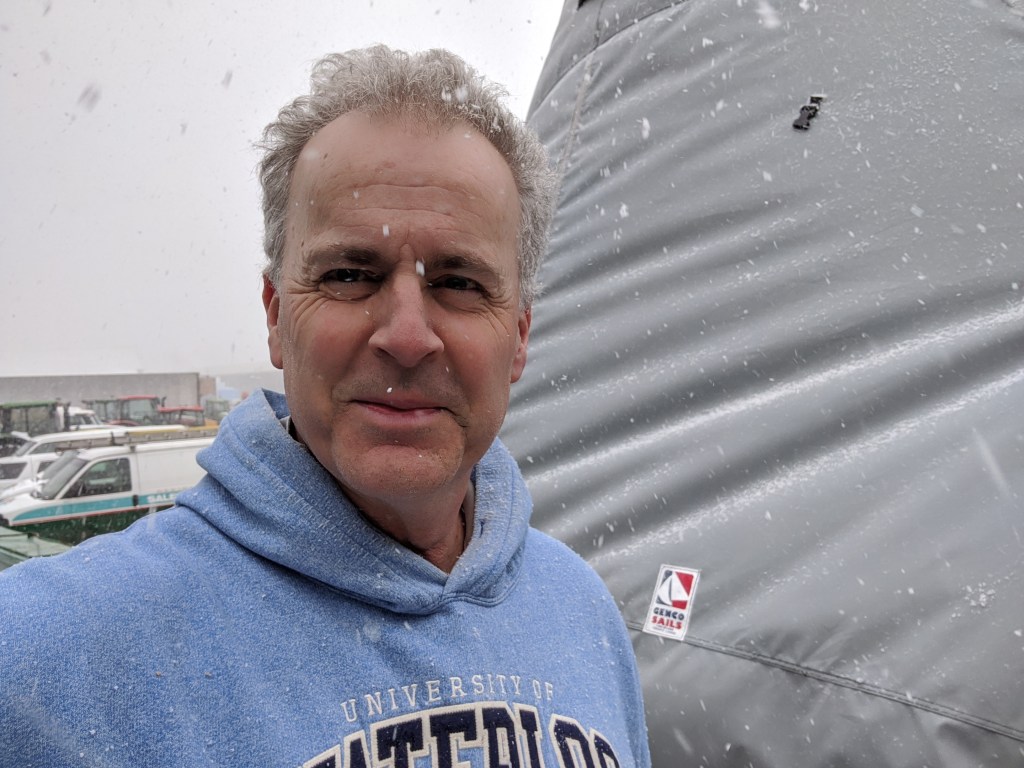
As you can imagine this forced us back in doors.
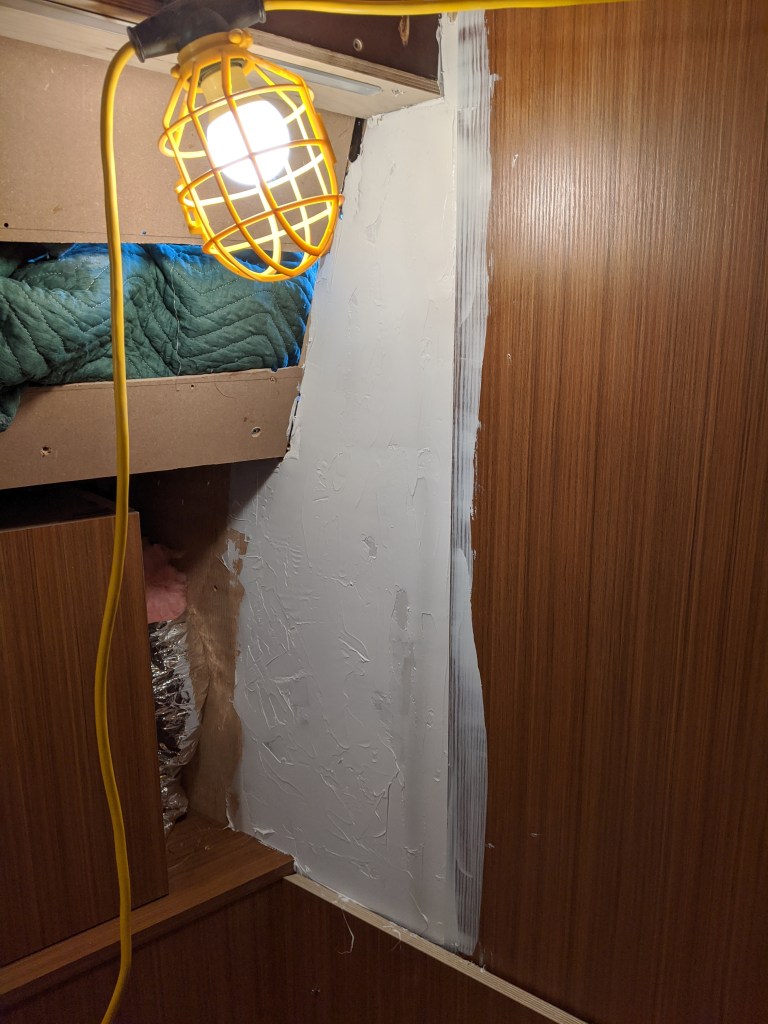
Earlier in the week I primed the curved wall to get it ready for laminate. All the work in trying to smooth out the curve paid off.
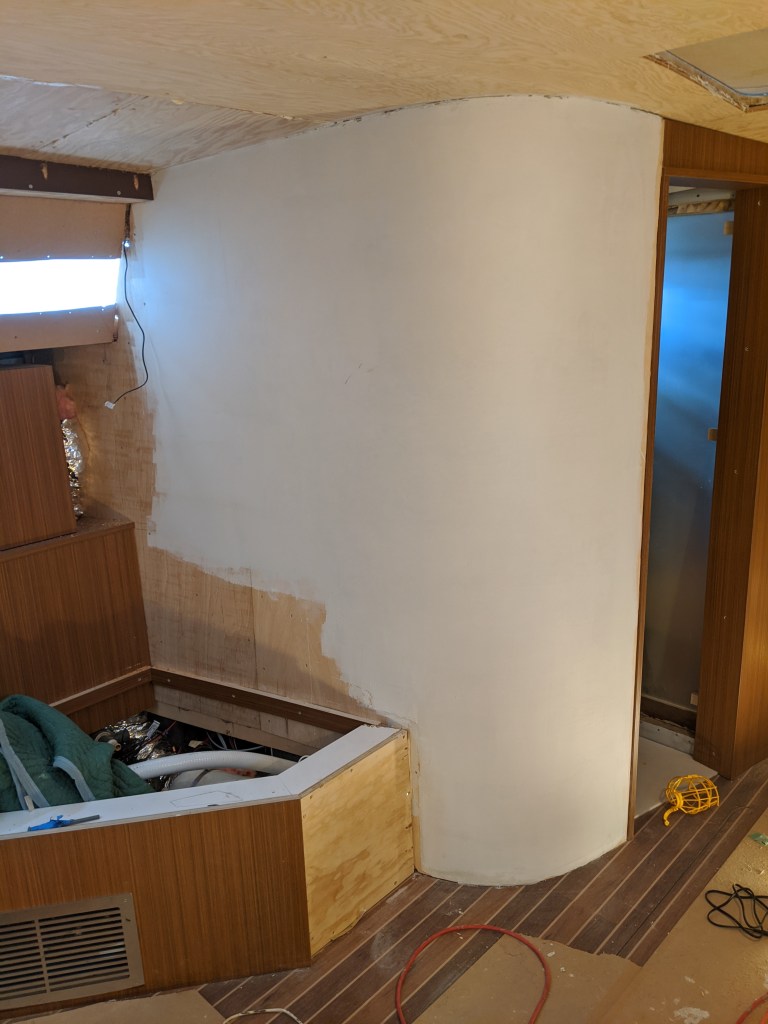
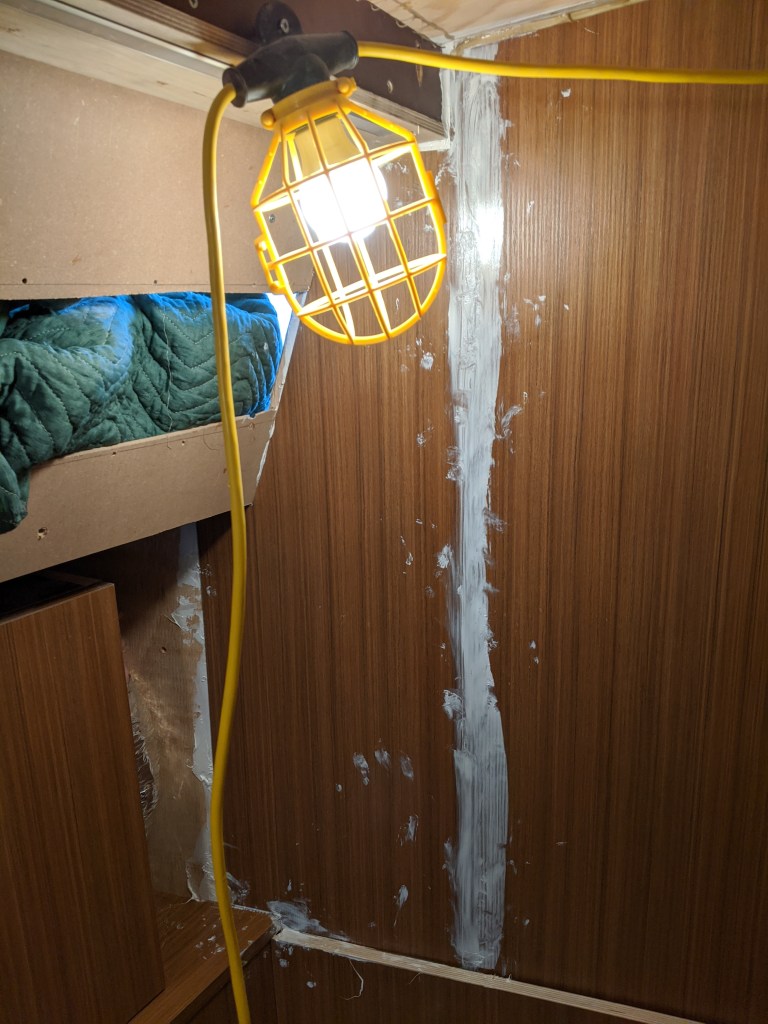
Then we installed the laminate. As I mentioned in a previous post we were tired of looking at that unfinished curved wall and it was a great relief to see it done.

The blue tape was there to stop any cracking of the laminate at the corner while we were installing it. We waited until this section set up for 24 hours before continuing on with the smaller piece of laminate in the corner.
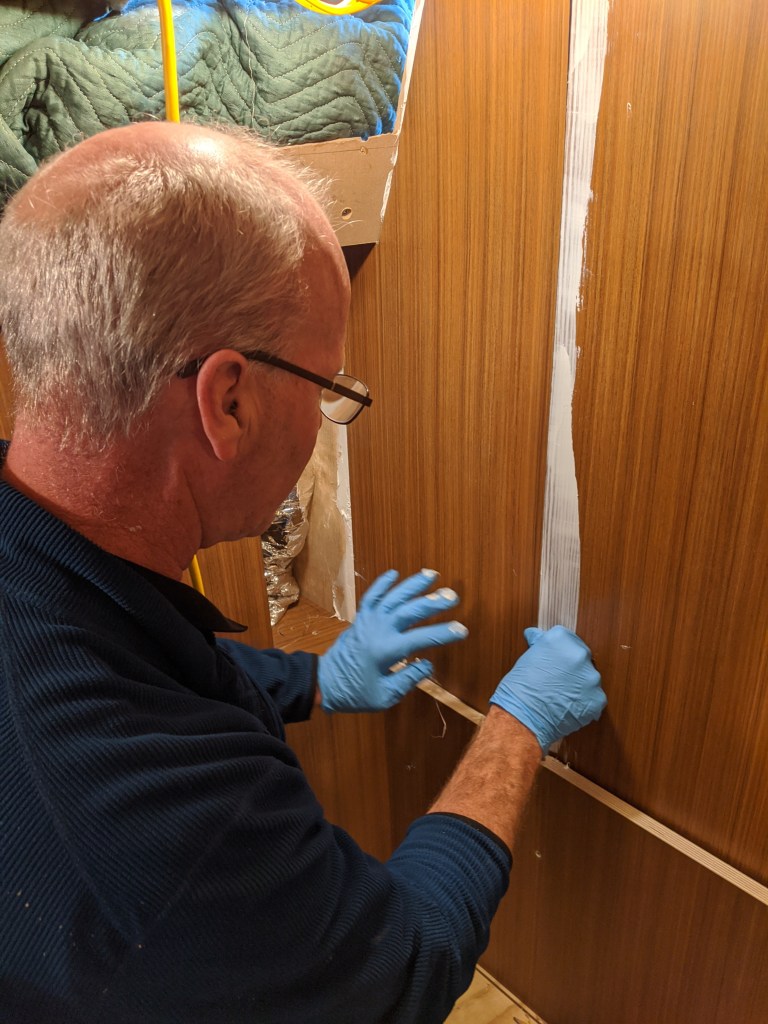
Here Donald is fitting the laminate.
I then troweled on a thin layer of Sikaflex. Love that stuff!

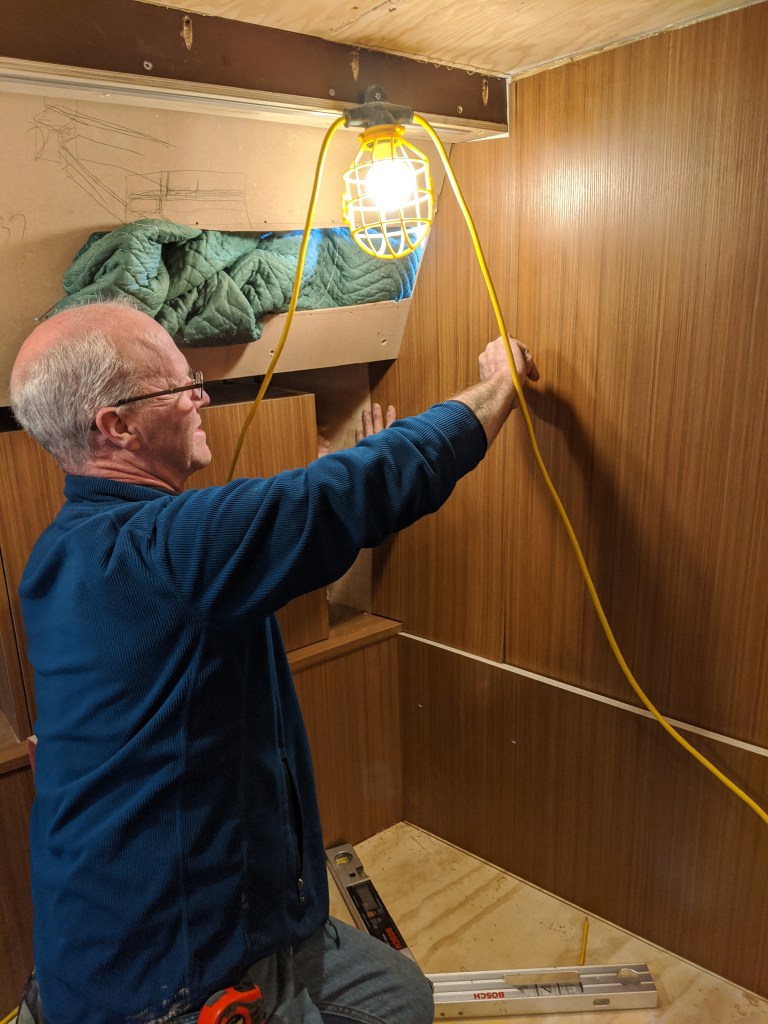
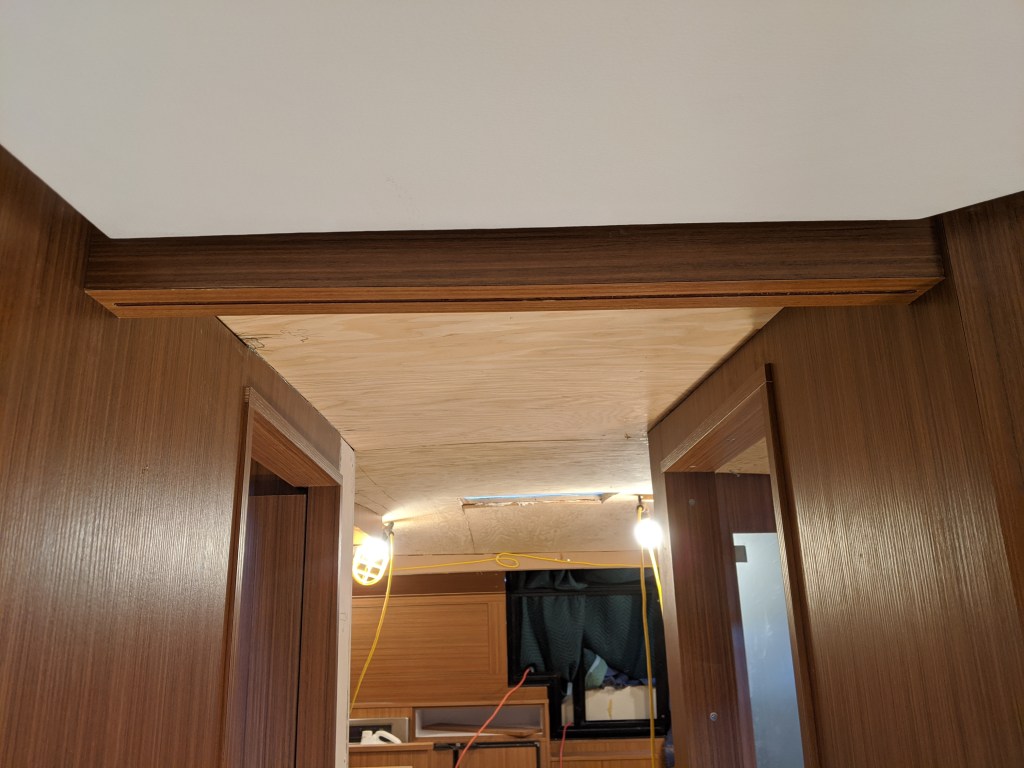
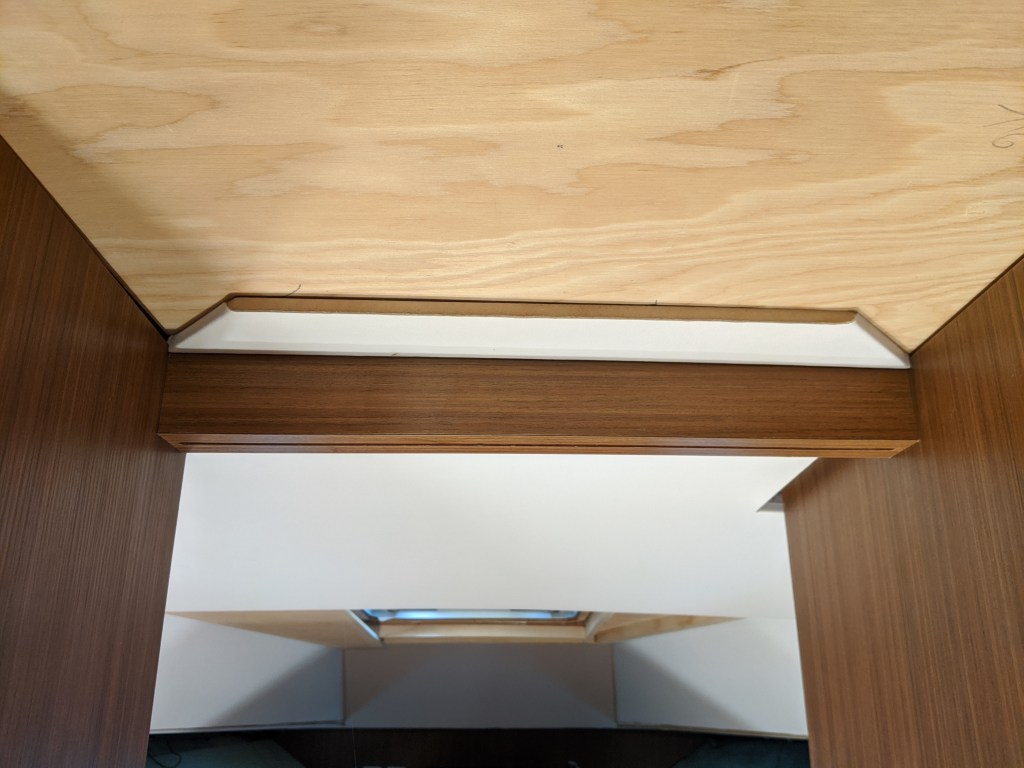
I then installed the reading light and switches for the main lights in the room. Donald had built the bulkhead above this window earlier and we added in the LED strip light.

I was able to get back to working on the headliner in the v-berth and finally finished up the ceiling.

What I have left in here are the panels at the port and starboard side windows and the trim that will cover the joint between the lower ceiling and the angled panels. Then we are done the v-berth!
Donald worked on the area to the left of the electrical panel where the door closes in to. He built this area up with plywood to give us something to apply finished panels to. This is another area that we have to start building and see where it takes us.
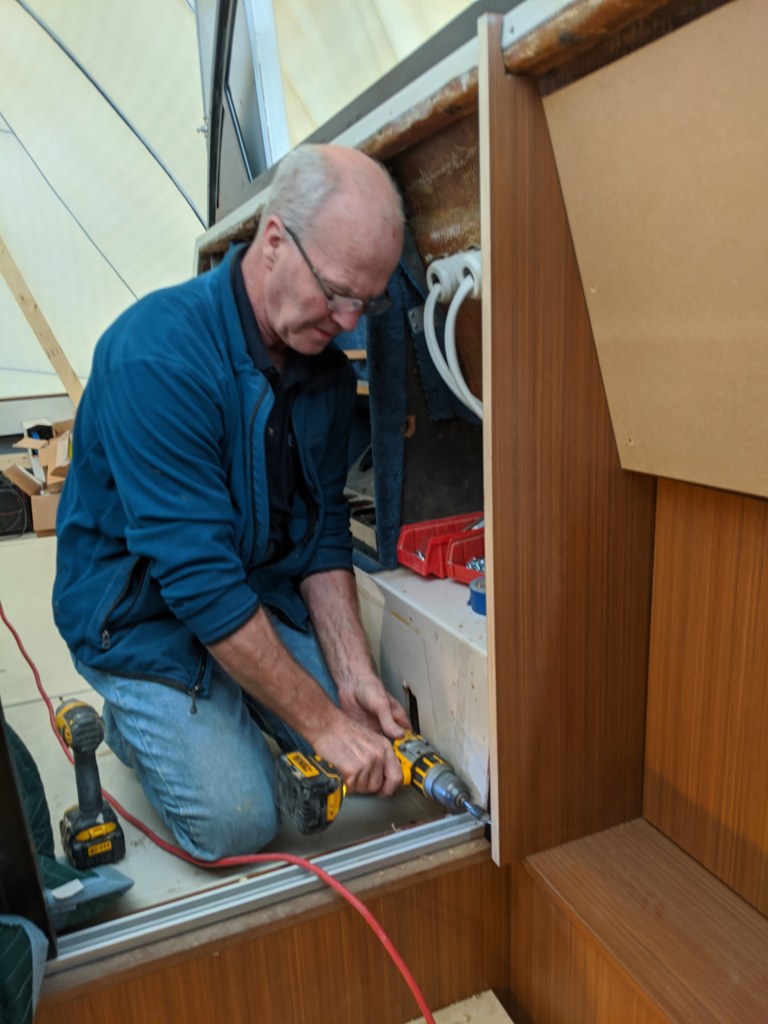
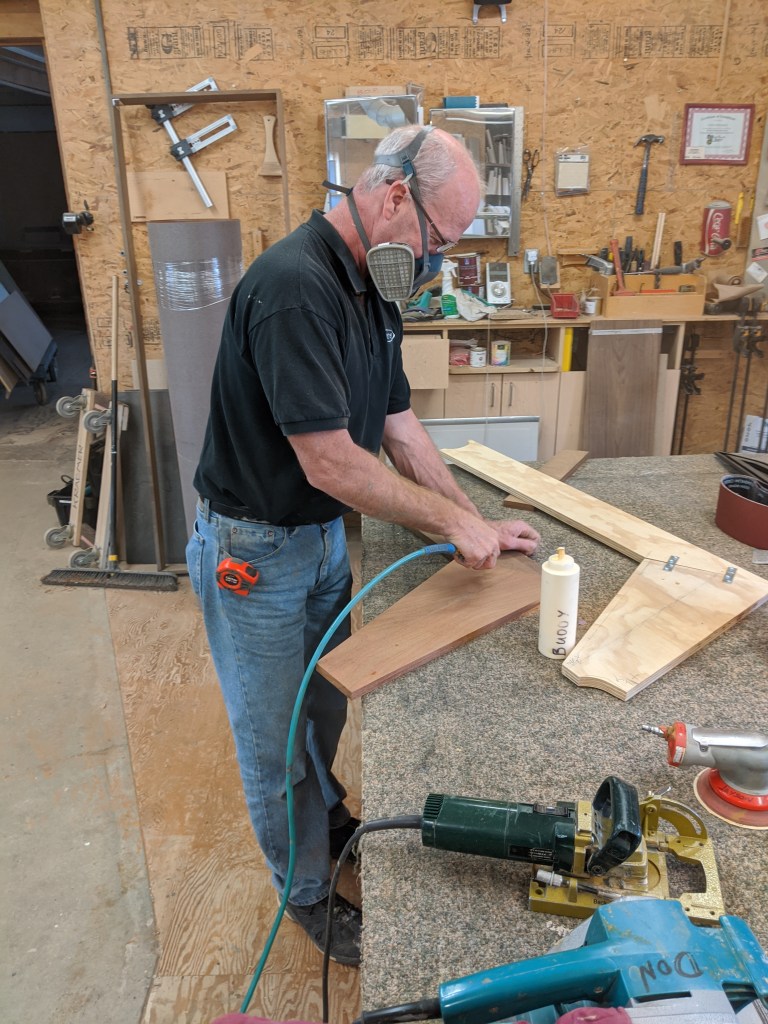
Once this was in he was able to create a template with which to make an end panel made from Ipe. Apparently Donald doesn’t like the smell that Ipe gives off when sanding it.
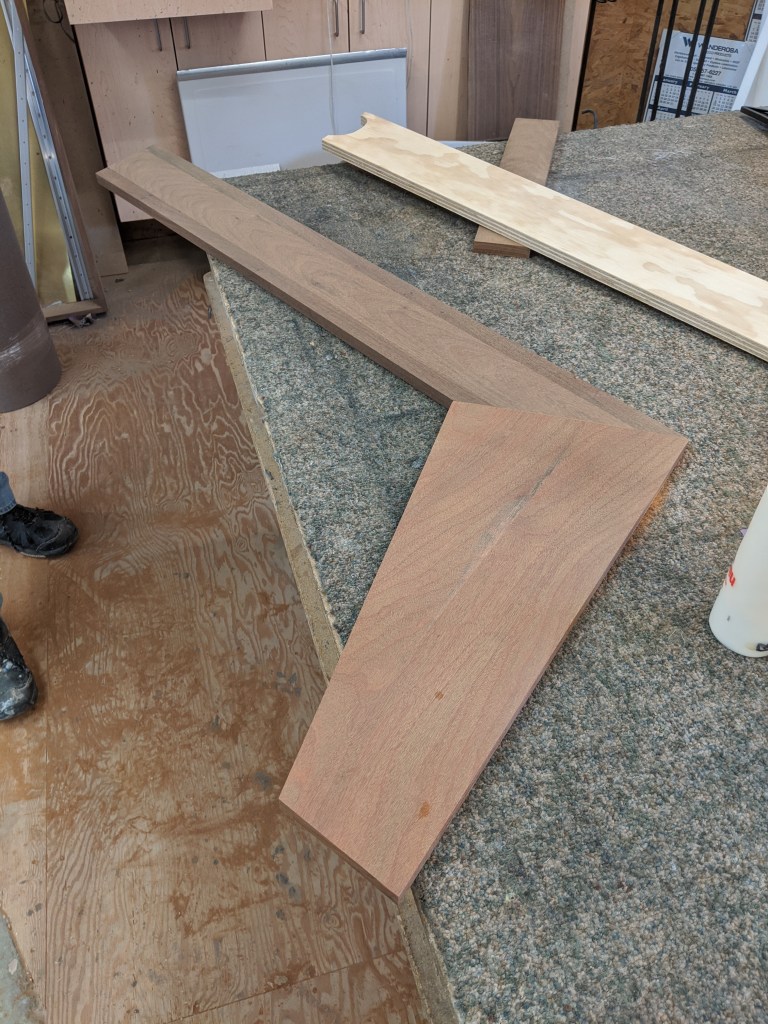
This panel is just in temporarily. Donald has to do a bit more prep work before he can fully install it.
We are planning on installing a cabinet and glass panel in the opening that was the entrance to the v-berth. We were going to do this anyway and have the entrance to the room be from the vestibule but it will also give us access to the motor for the bow thrusters.
Donald put in a laminate covered bulkhead that the top edge of the glass will be inserted in to. This also covers the LED lights in the v-berth ceiling.
This view is from the v-berth.
… and from the hallway in front of the mid-berth. I started putting in the perimeter edging to create the same stepped reveal as in the v-berth. The slot on the underside is where the glass will slip in to.
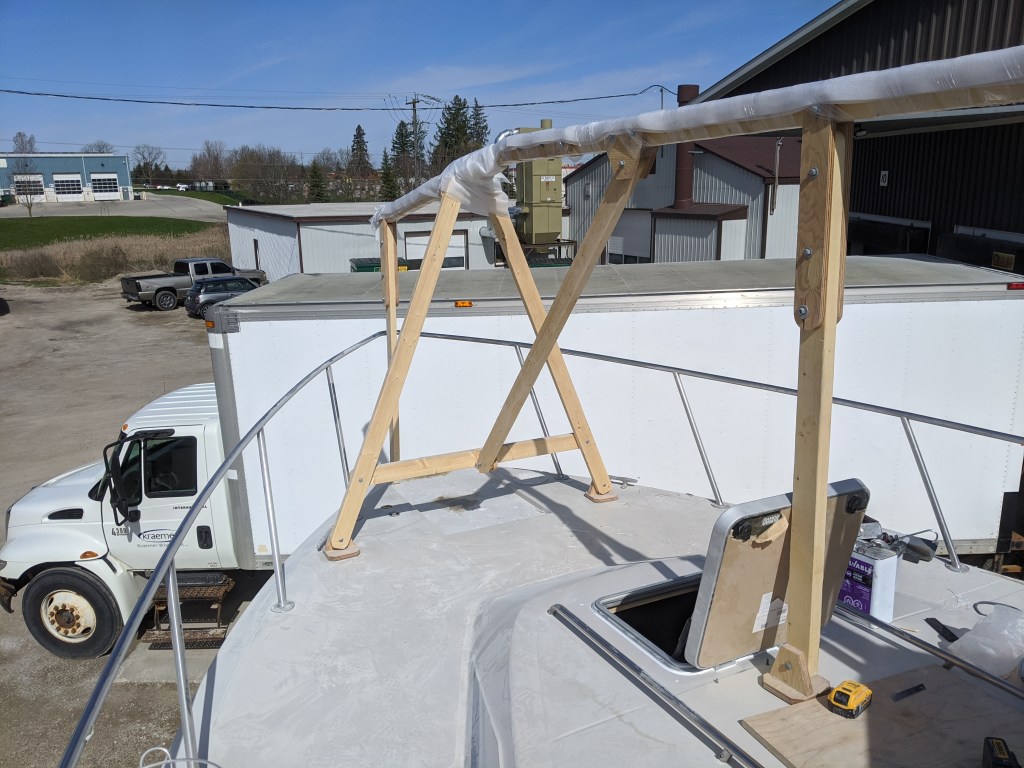
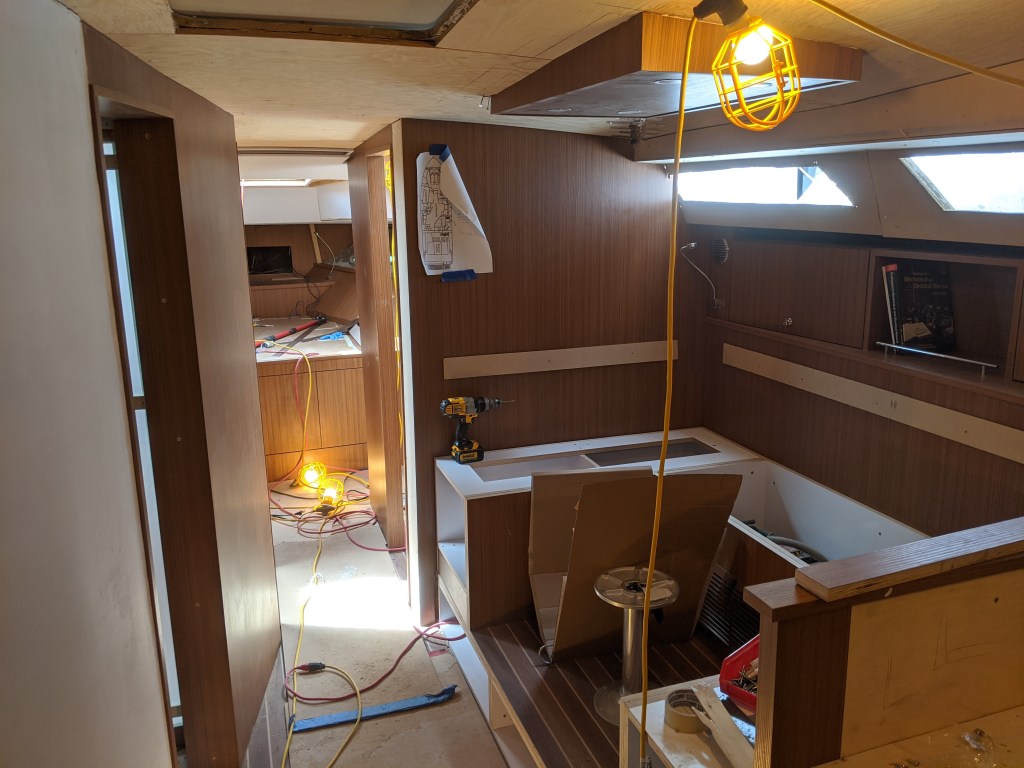
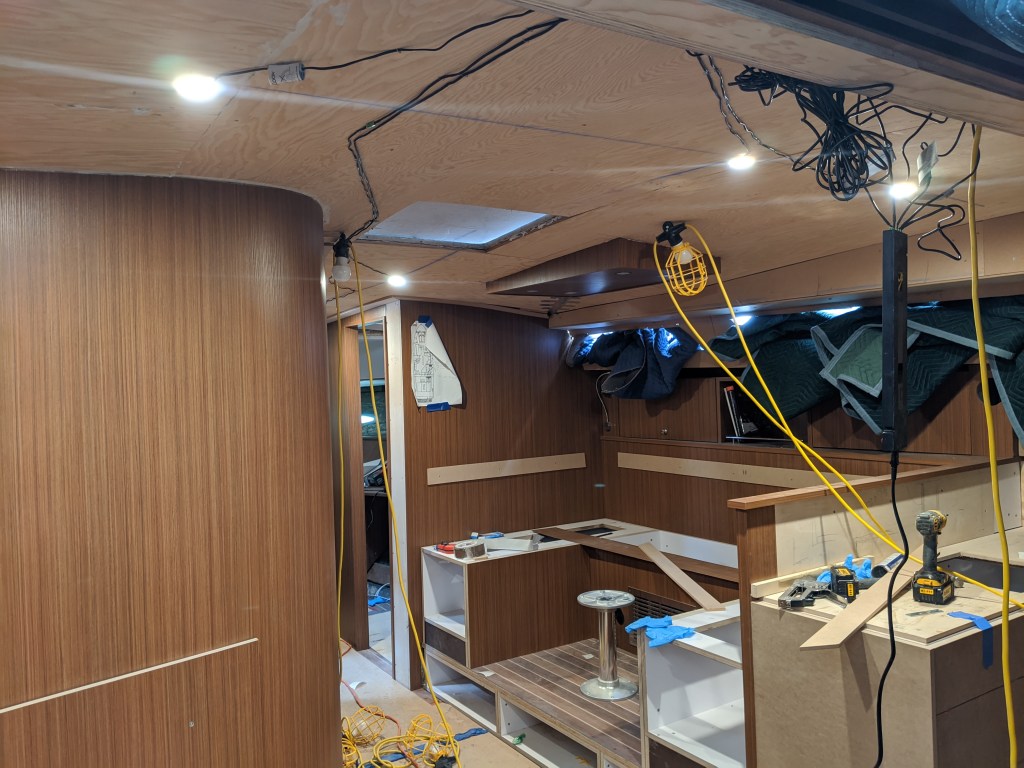
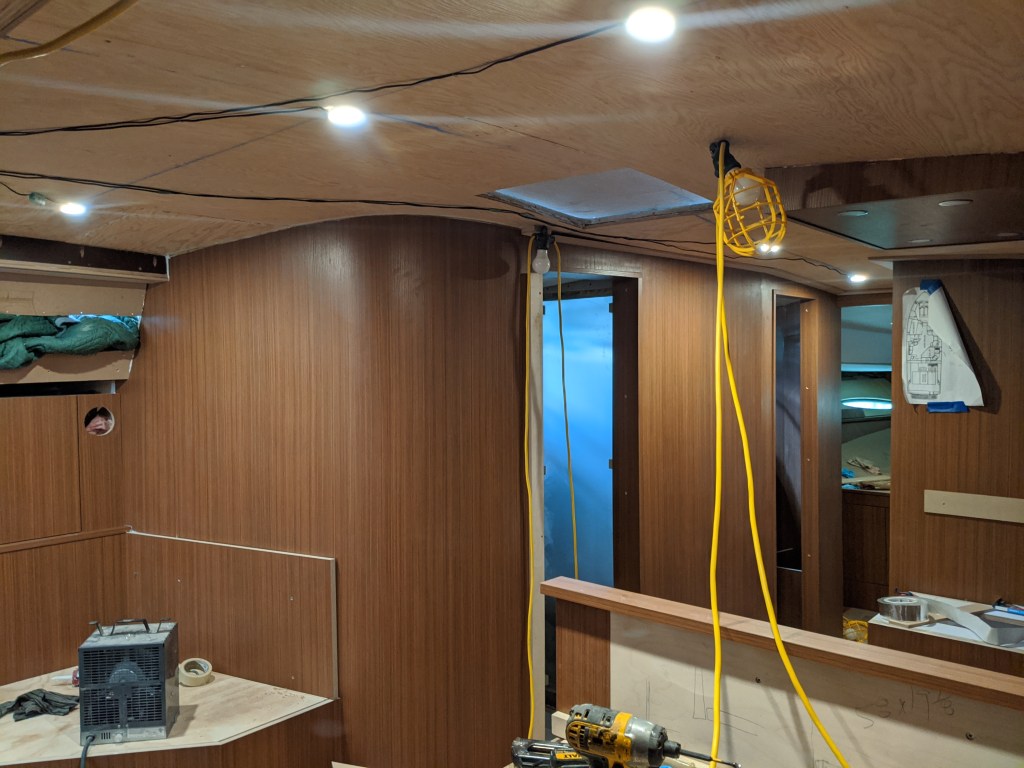
And finally… I started laying out the lights in the main salon. Please excuse the messy shot. We stuffed packing blankets into the windows to stop the snow from coming in. We should have these windows in next weekend.
In the top right of the photo is the mess of low voltage wires that are connected to the LED driver. This will all end up in the small cabinet just to the left of the curved wall.
That is it for this week. We found out last week that we are now able to return to work and so our next boat day will be next Saturday. I suspect, however, that I will be spending an hour or two each evening working away at the headliner. My wife is just finding this out ….right now.
Stay say and healthy!

What the what? I trust the headliner work will happen AFTER you prepare me a nice meal? Love, the wife.
LikeLike
This is so exciting to see all this progress! You are doing an amazing job and I can’t wait to see her in person! Of course I can’t wait to see you all as well!
Jilly
LikeLike
Well done guys. Hopefully soon I can get over to meet you and see “Becky”. The transom door on my 460EC sags on the hinges with no adjustment (I assume this was you issue).
Going a little crazy waiting to prep Becky’s sistership “Boldly Go” for the season. Take care!
LikeLike
Incredible…. such great craftmanship. Always impressed
LikeLike
Nice work. What are you using to glue the wood to the underside of the deck? Looking to add some furring strips for a remodel on a 1990 310
LikeLike
We used Xcel Marine Bond &Seal
https://xcelproducts.ca/adhesives-sealants/mbs/
LikeLike