
I thought that it was time to start my launch countdown. NASA does it so why can’t we? The plan is to get Becky in the water on June 15th. This will give us a good month and a half of warmer weather to finish off a lot of the exterior work. The antifoul paint will take the longest but we will also want to clean and wax the hull to make her pretty.
Today was a day that involved more of the smaller projects that needed to get started.
I continued on with gluing on more plywood strips for fastening cabinets and plywood panels to.
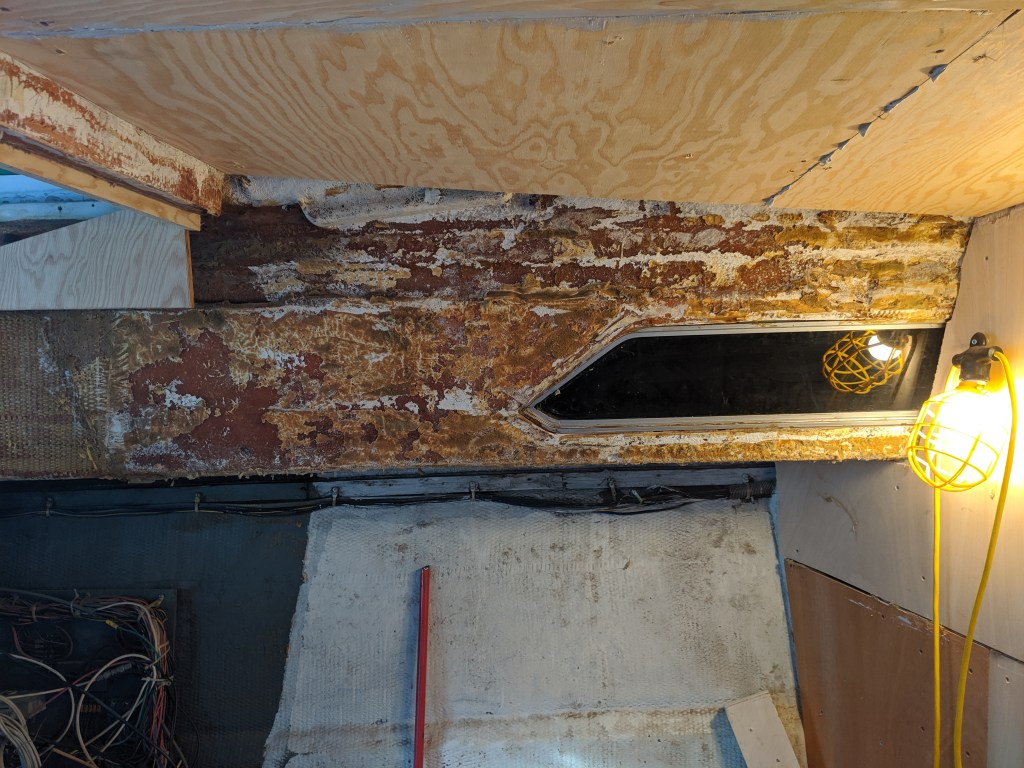

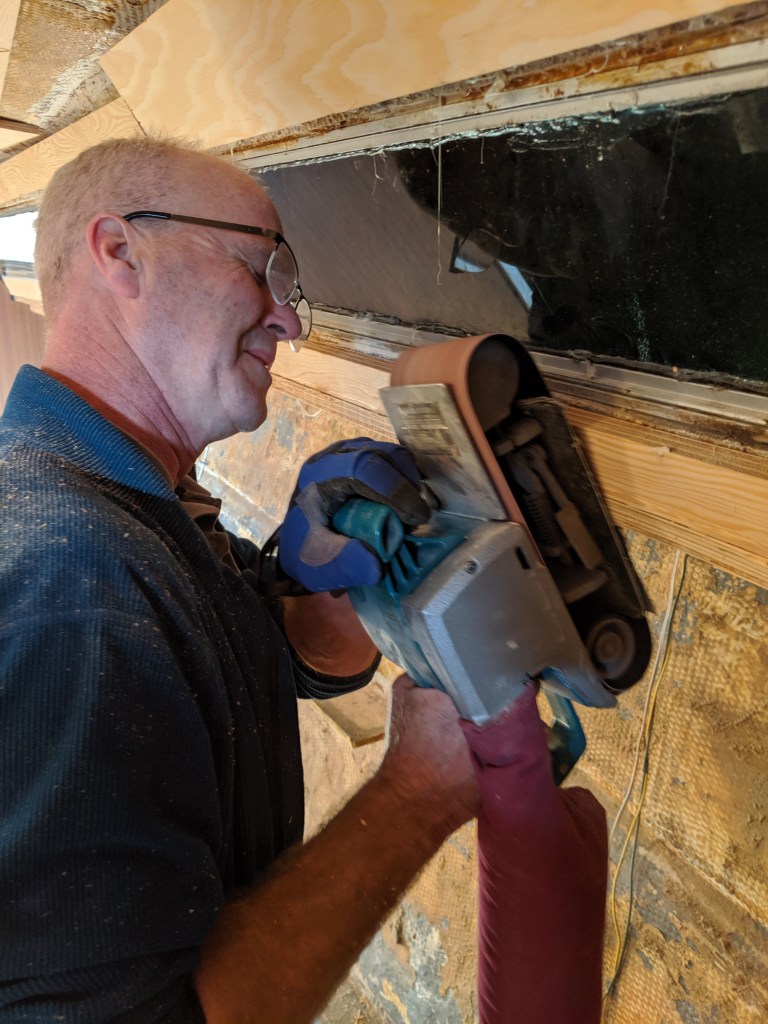
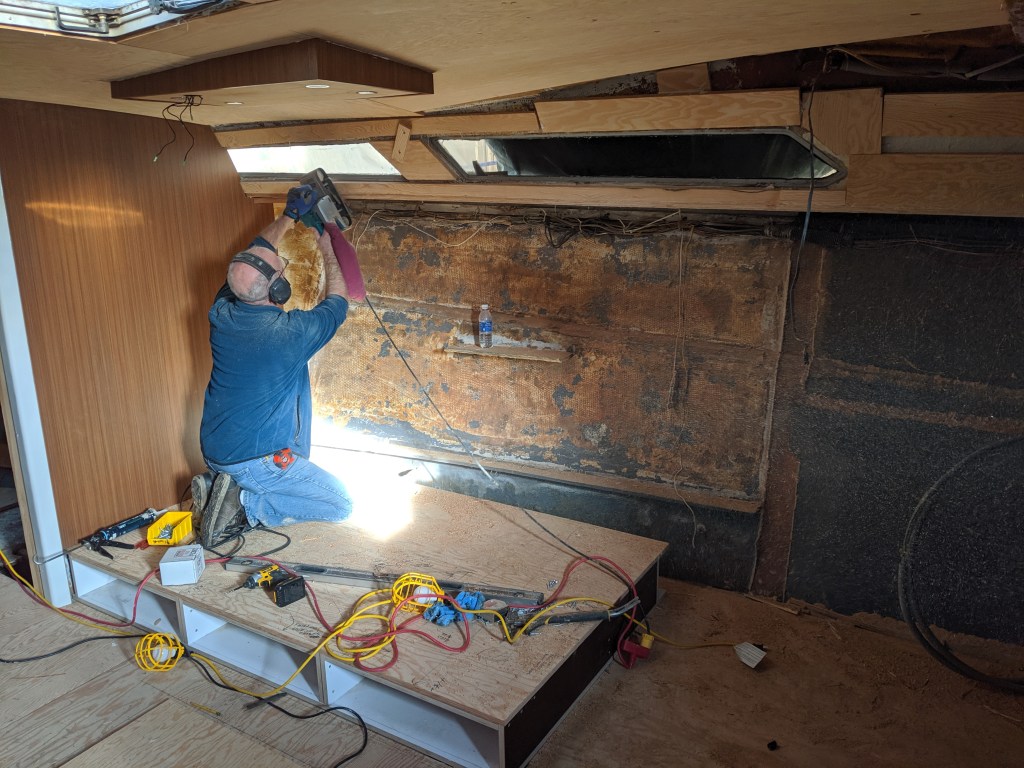
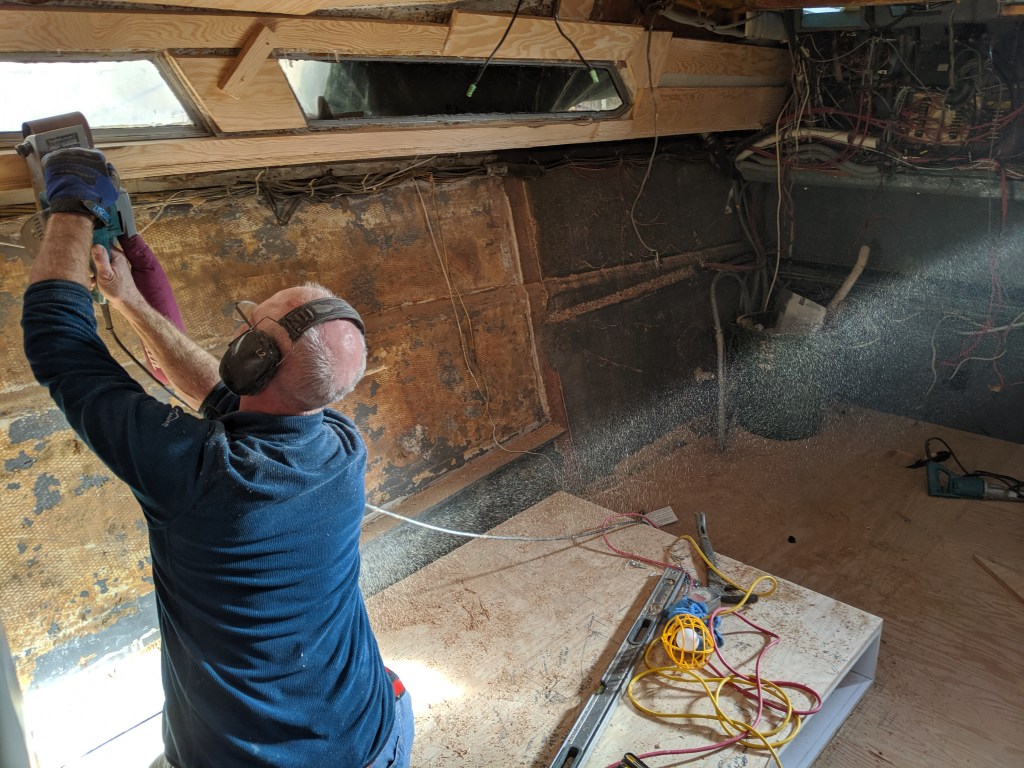
Applying the first layer of plywood for the bulkhead on the port side meant more cleaning of the headliner residue and sanding to get to the fibreglass. I started with 40 grit sandpaper on the palm sander until I realized that Donald had just used the belt sander…with 40 grit sandpaper (I will show those photos shortly). Why didn’t we use this before? Instead of 20 minutes it only took me 5.
I will be covering this with a 1/4″ water proof MDF product which will give me a nice smooth surface for the headliner. Still not entirely sure what I am going to do with that yet. It won’t be done until the spring so hopefully I will get some good ideas at the Toronto boat show in January.
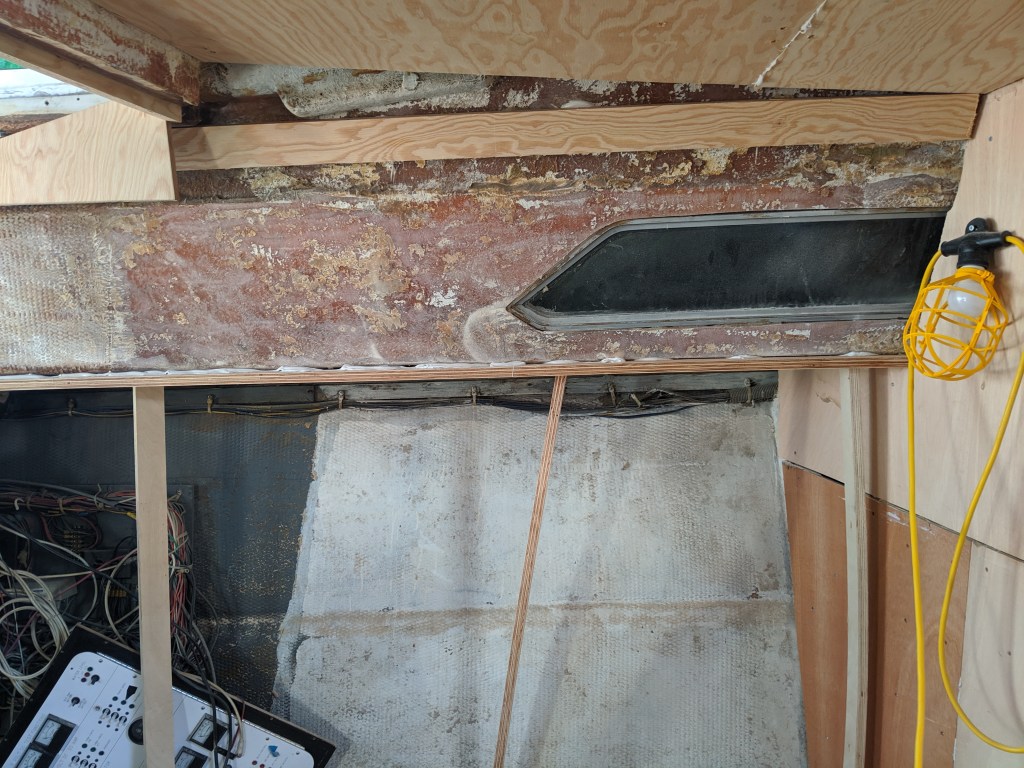
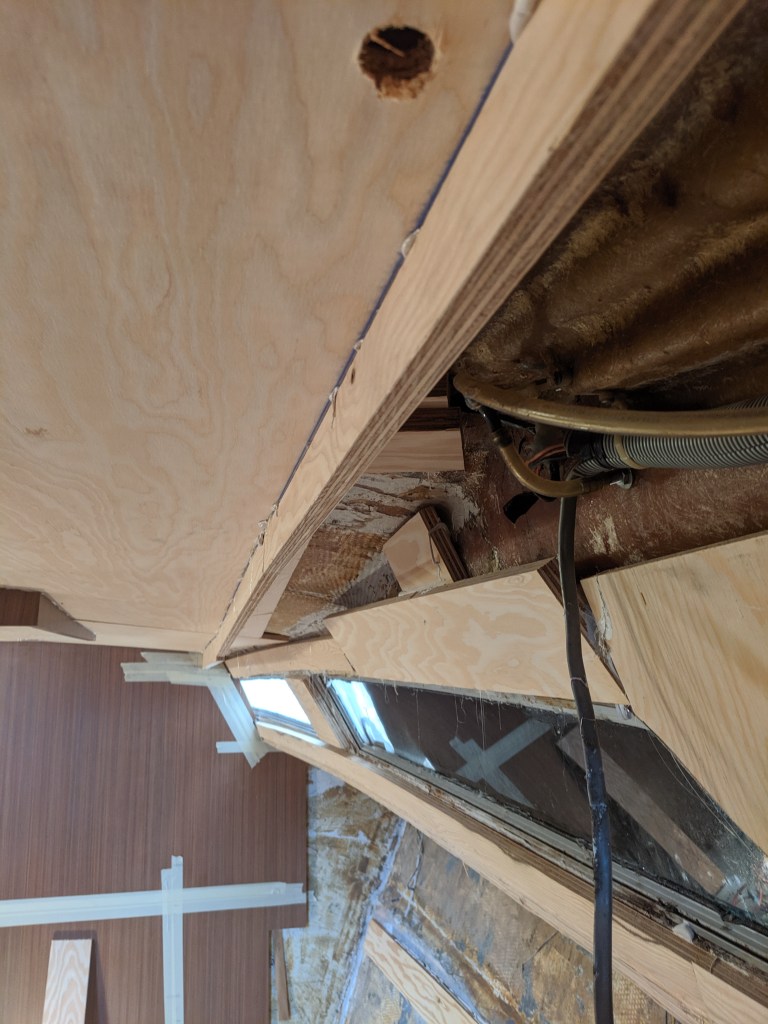
I already did the preliminary work on the starboard side and today added plywood strips to act as the base for the bulkhead. Since the ceiling is not straight we have to basically form the bulkhead to it.
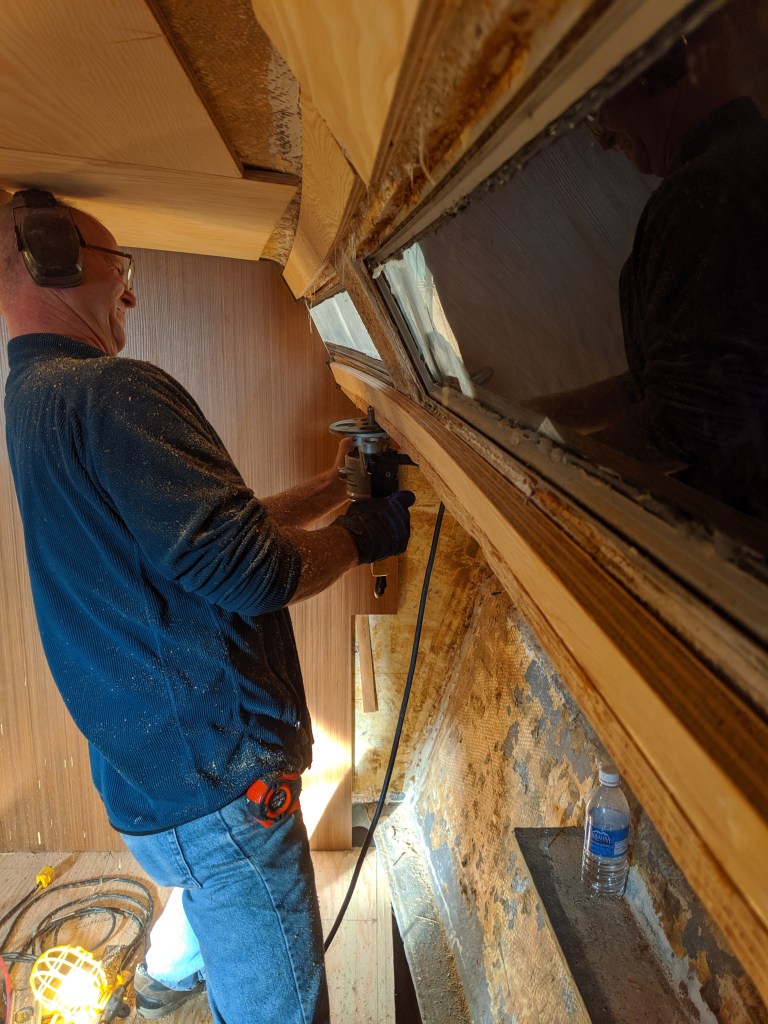
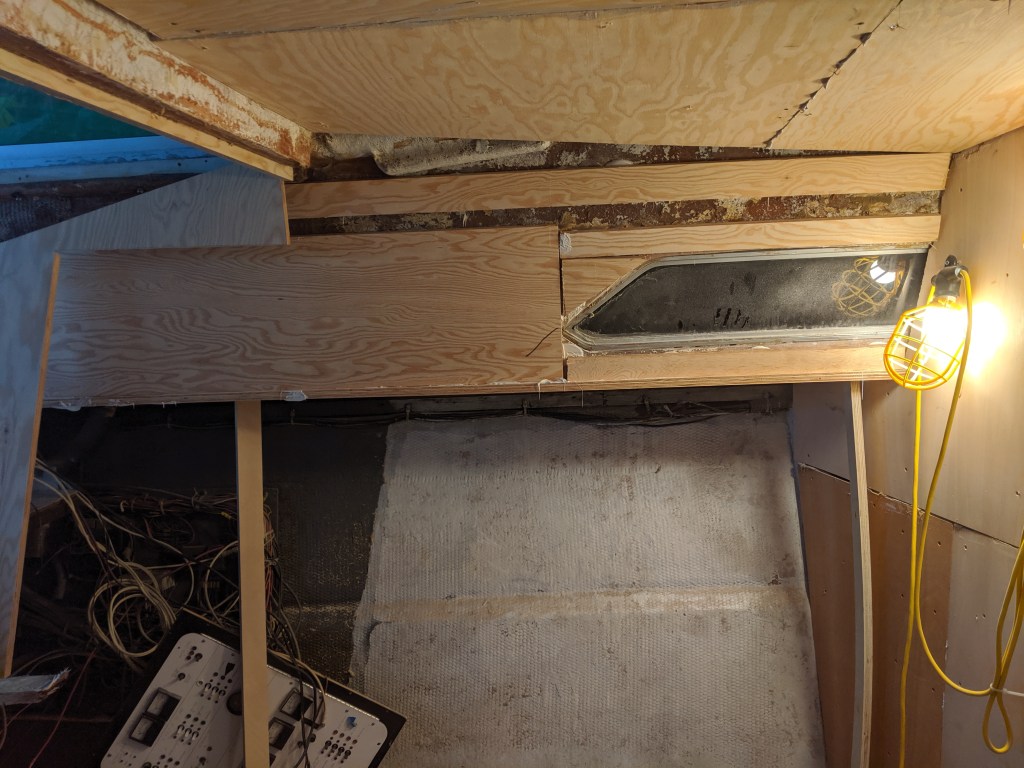
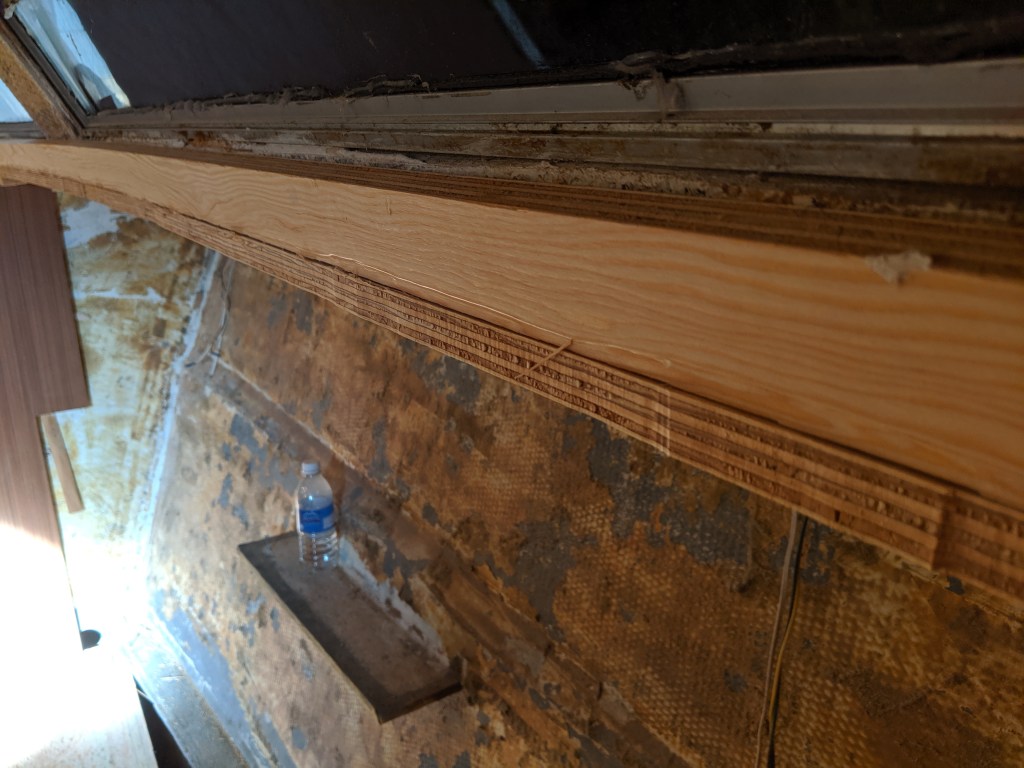
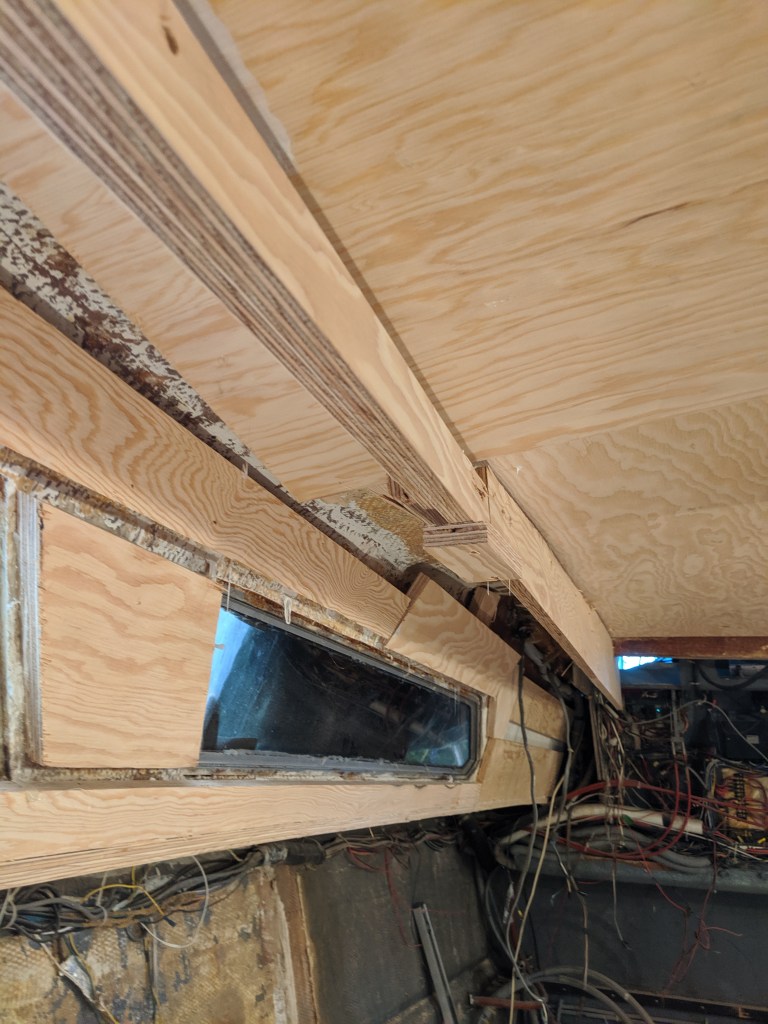
Here Donald is using a router to trim the overhang of the plywood under the window. We put a 2″ strip of plywood on the face last week to follow the curve of the underside of the bulkhead. He used that as a guide to trim the plywood that runs the length of the underside of the buildout.

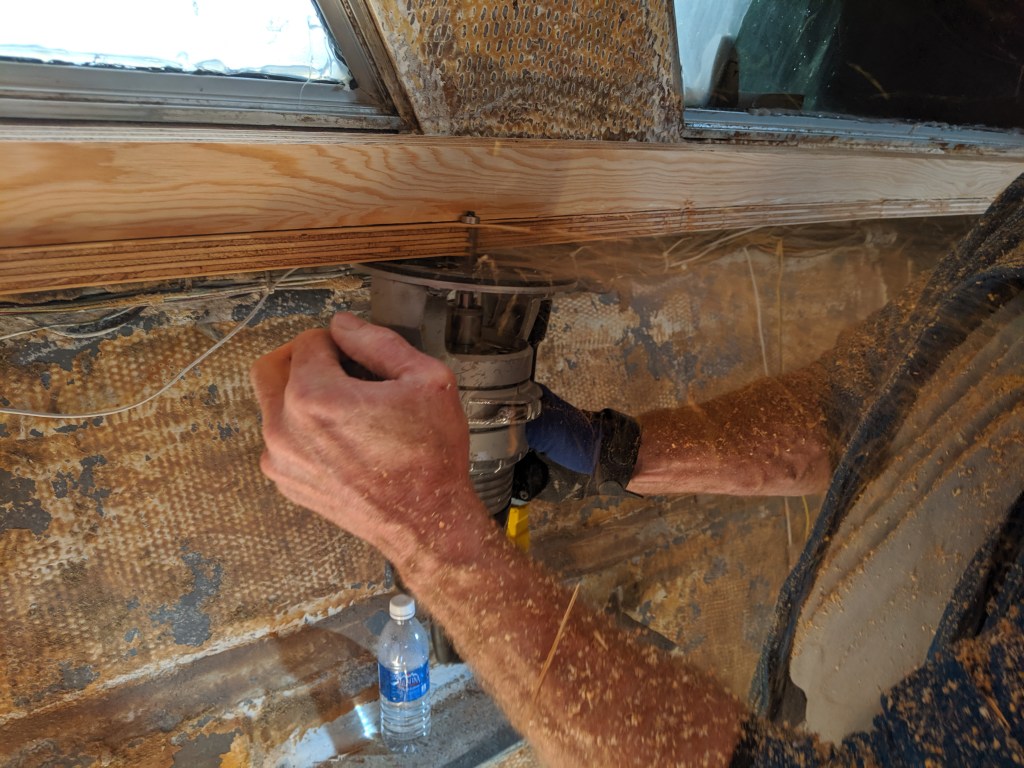
Once I apply the 1/4″ MDF to this we will have a nice edge on the curve.
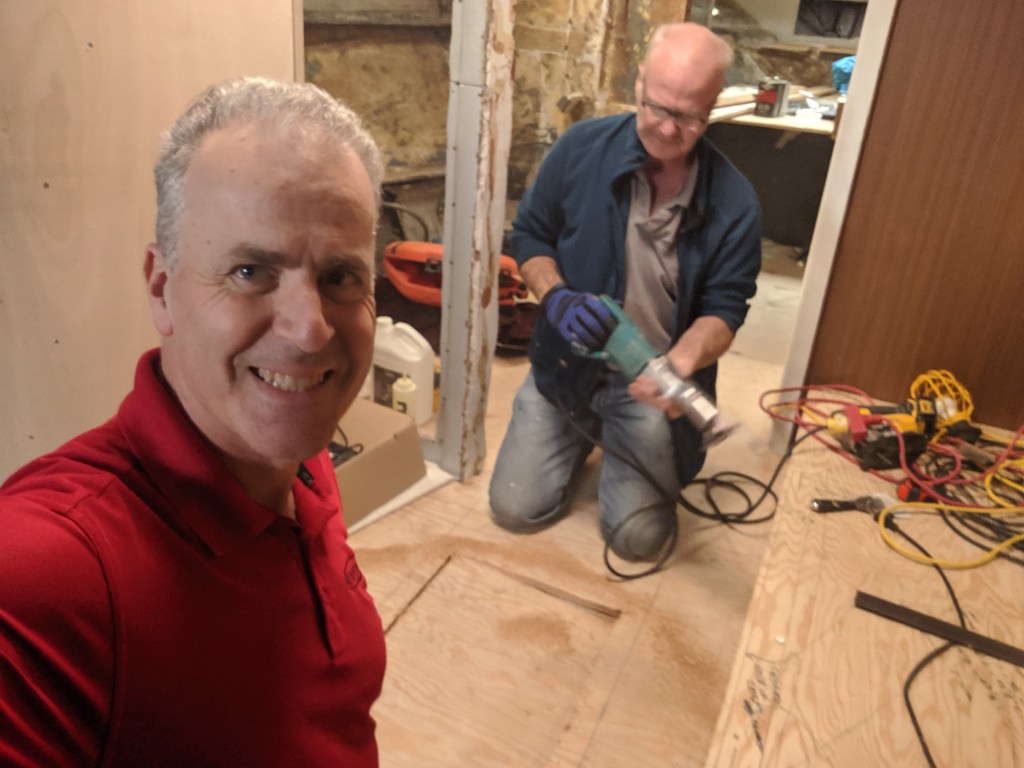
This is where the belt sander comes in…
We also decided to do a little bit more demolition. The part of the boat where the second head used to be also had a bit of rot. It was dry which meant is was older damage. We had to take out some plywood and reinstall some floor joists.

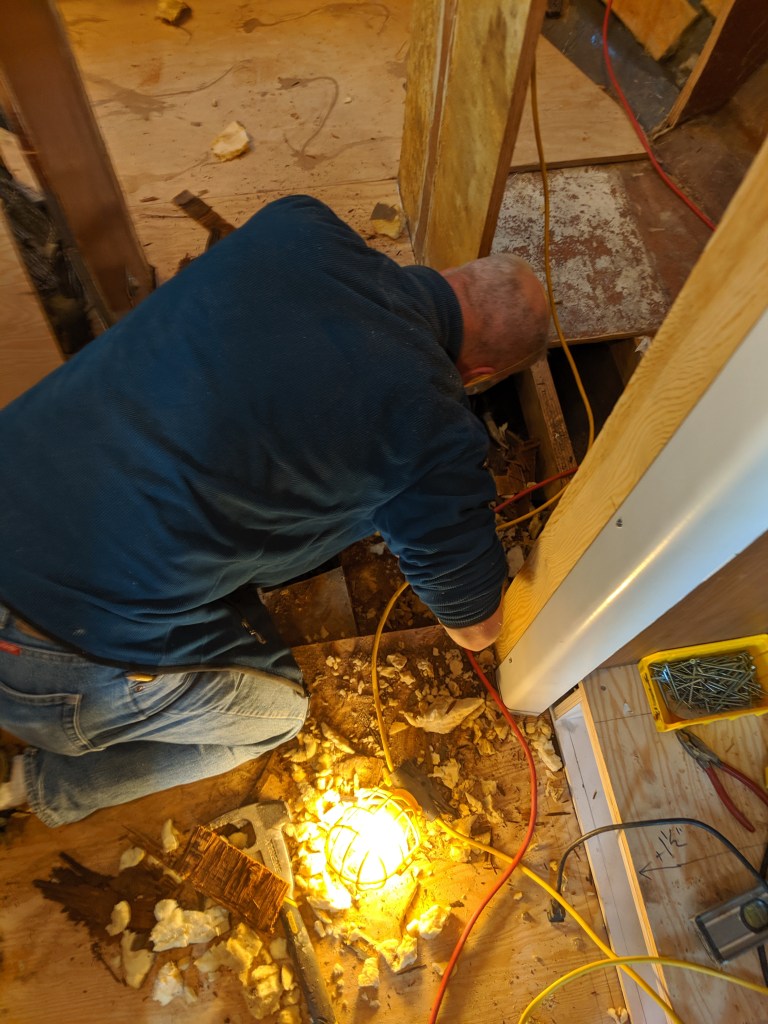
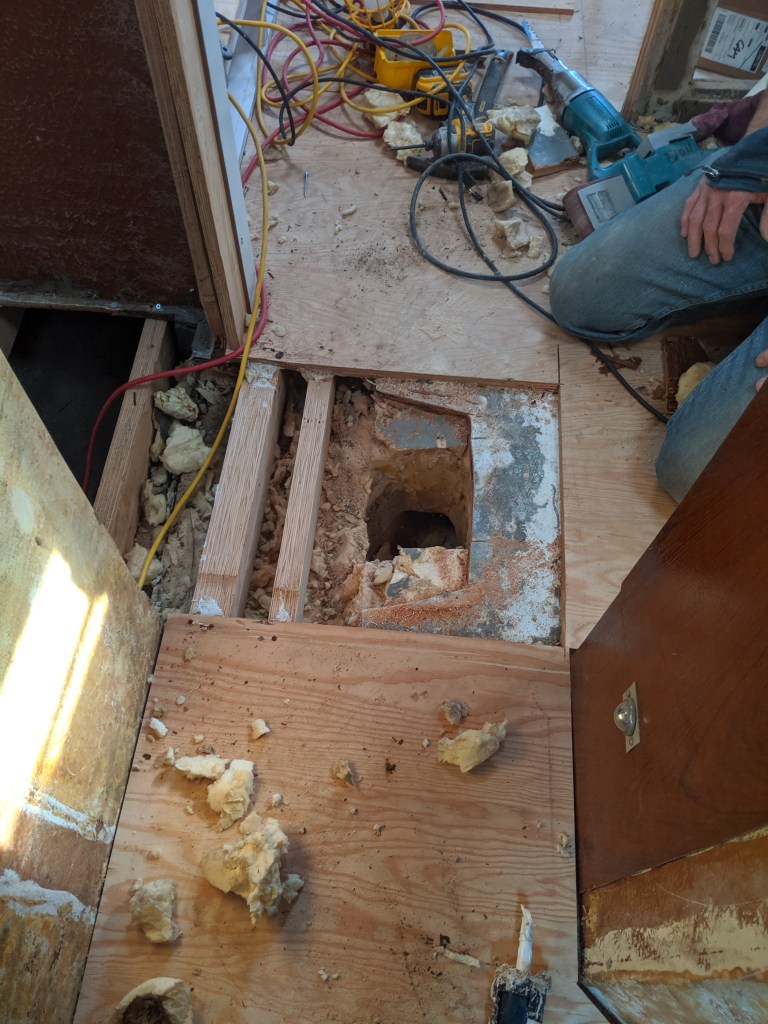
The floor is solid now.
One of the reasons why I like taking photos from this angle is that it clearly shows how little hair my brother has compared to me.
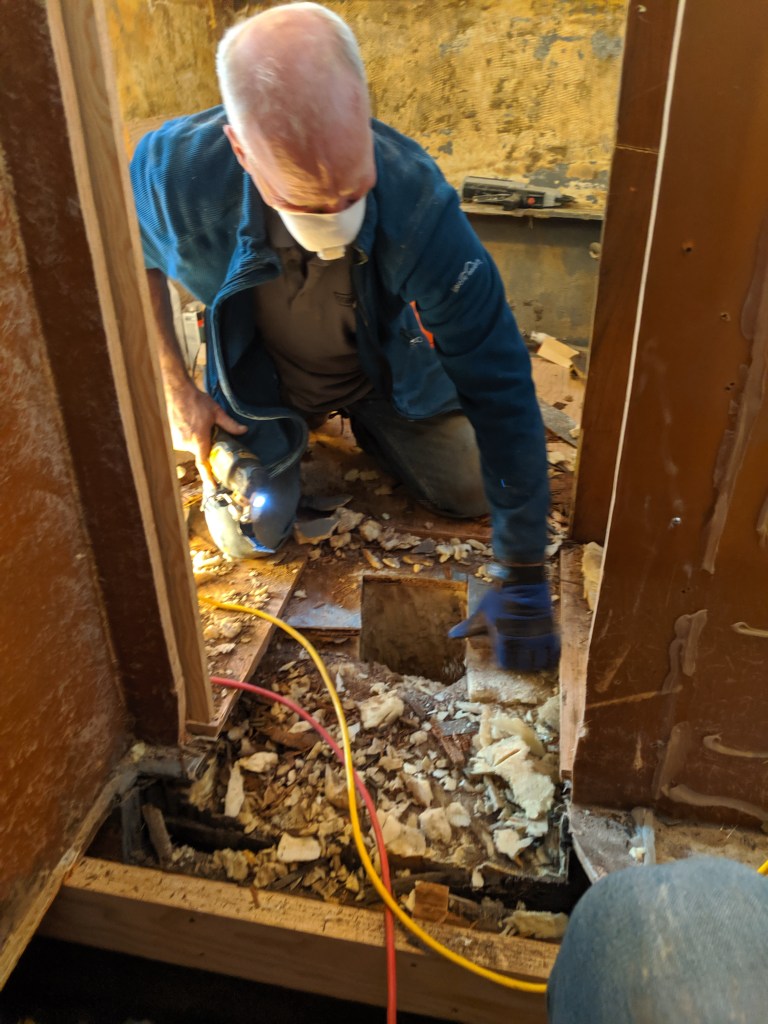
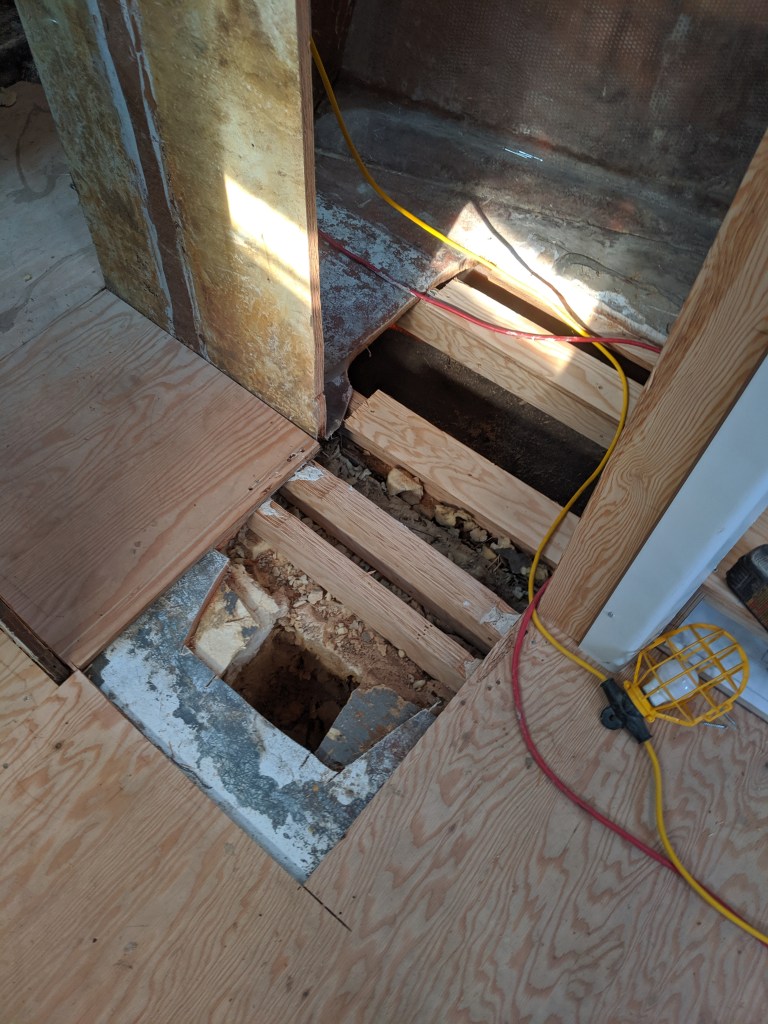
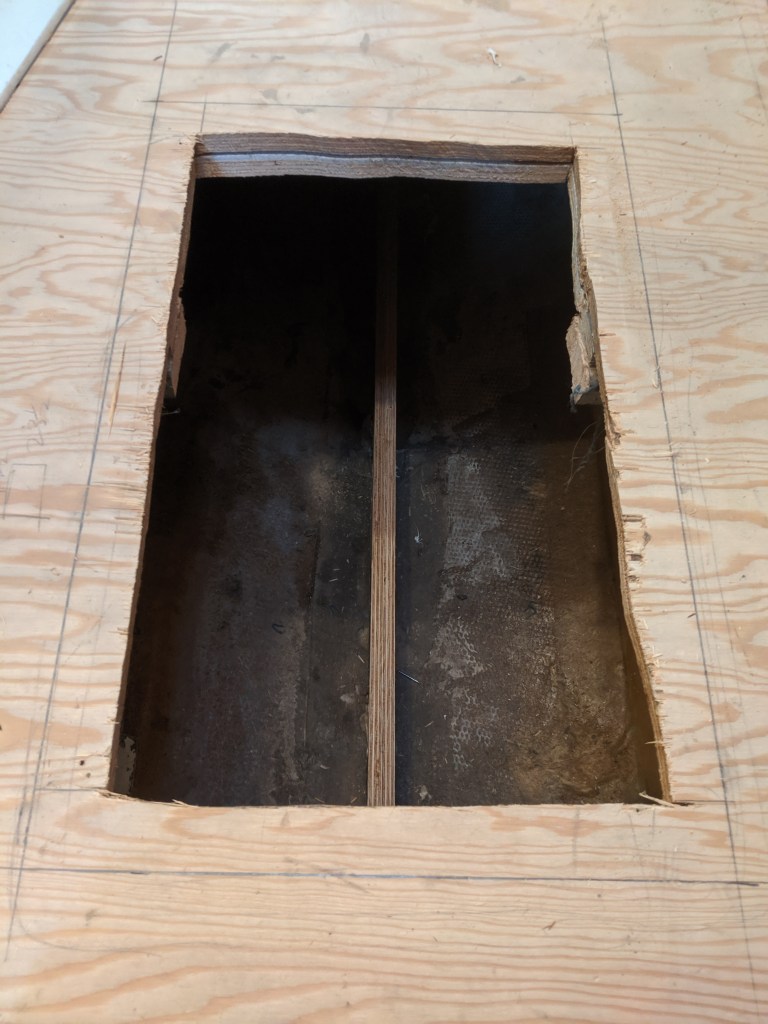
We started figuring out where to put the floor access hatches. I needed to open this one up so I could reinstall the plywood “spine” that ran along the keel.
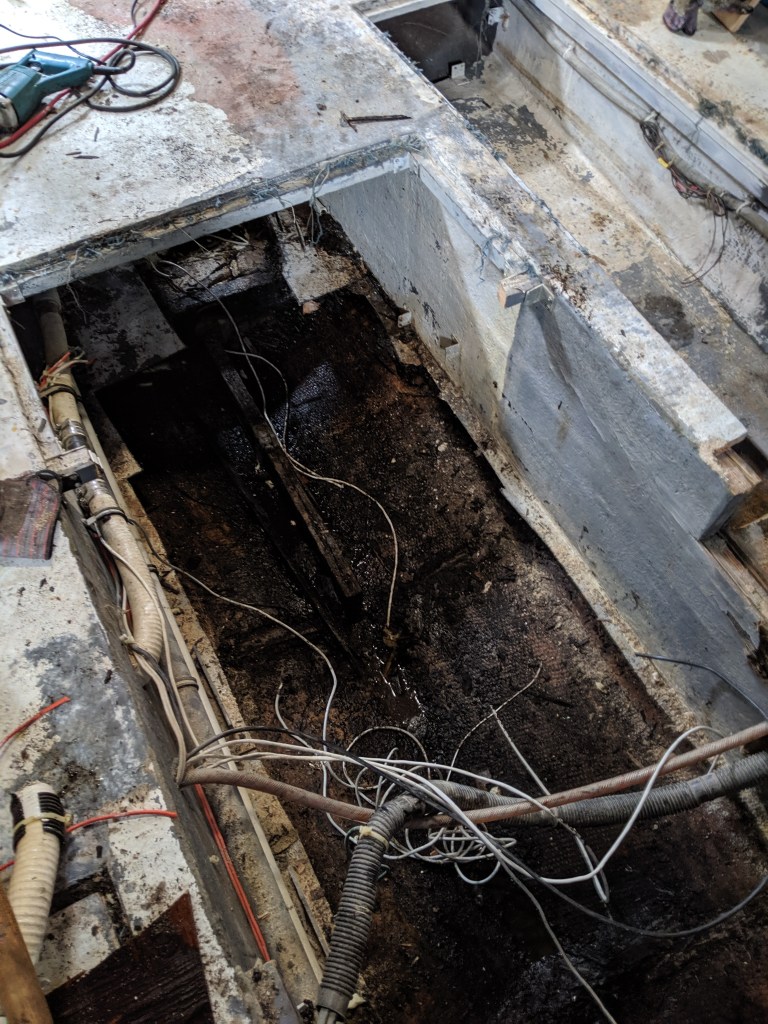
If you remember this is what it used to look like.

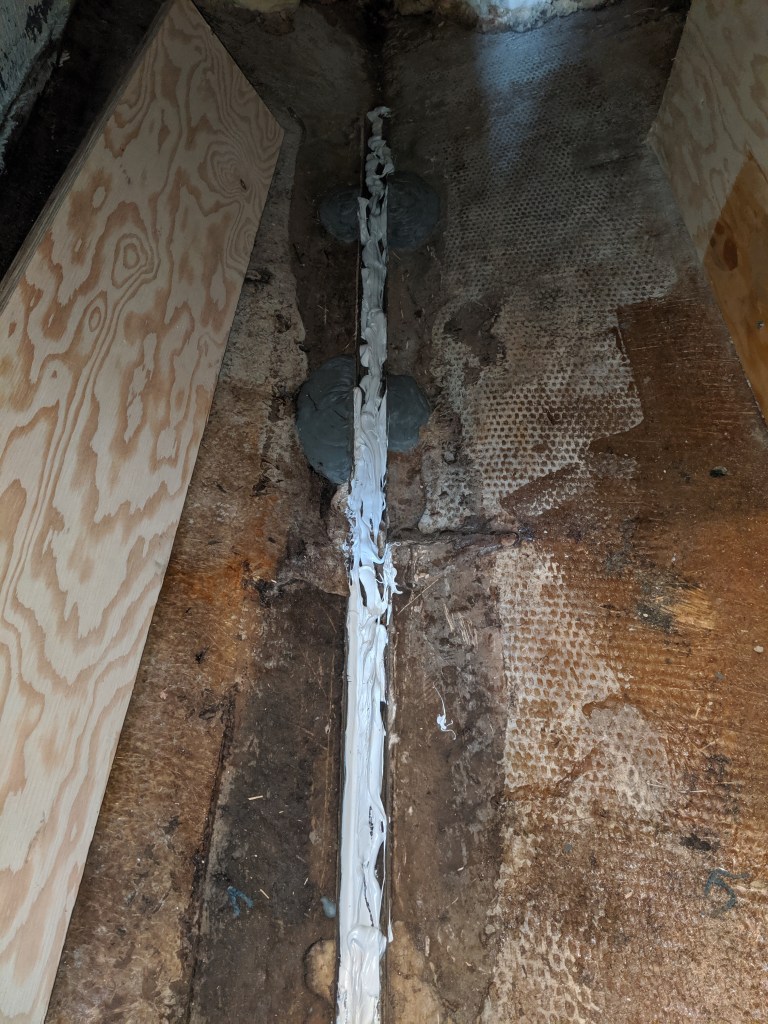
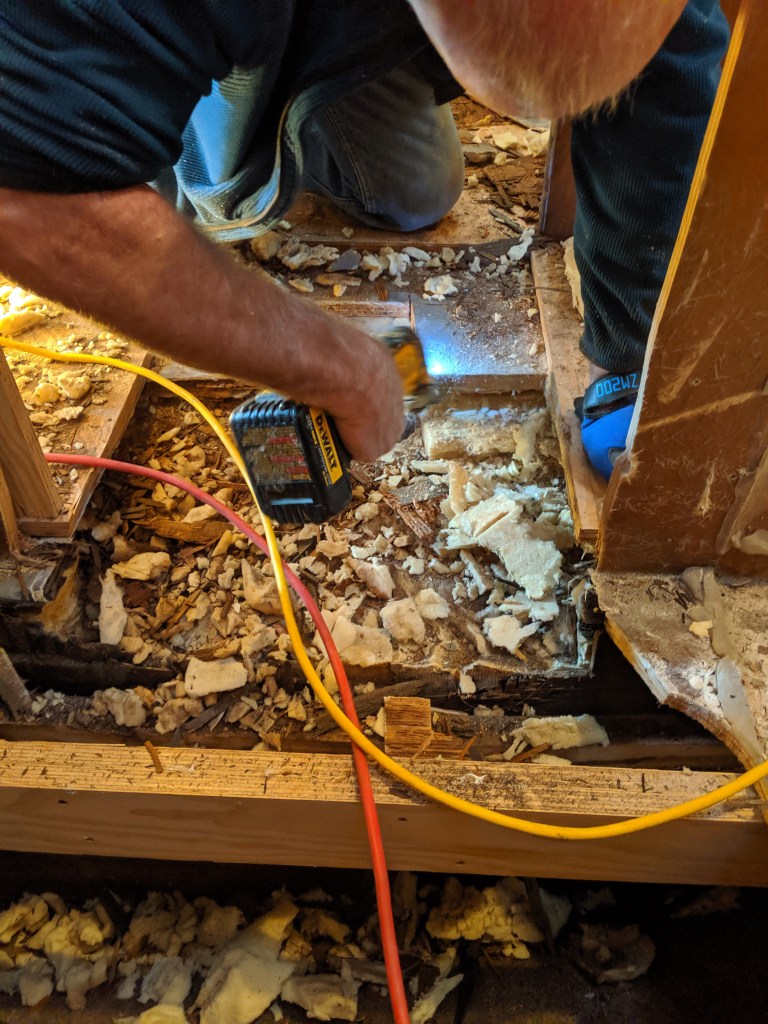
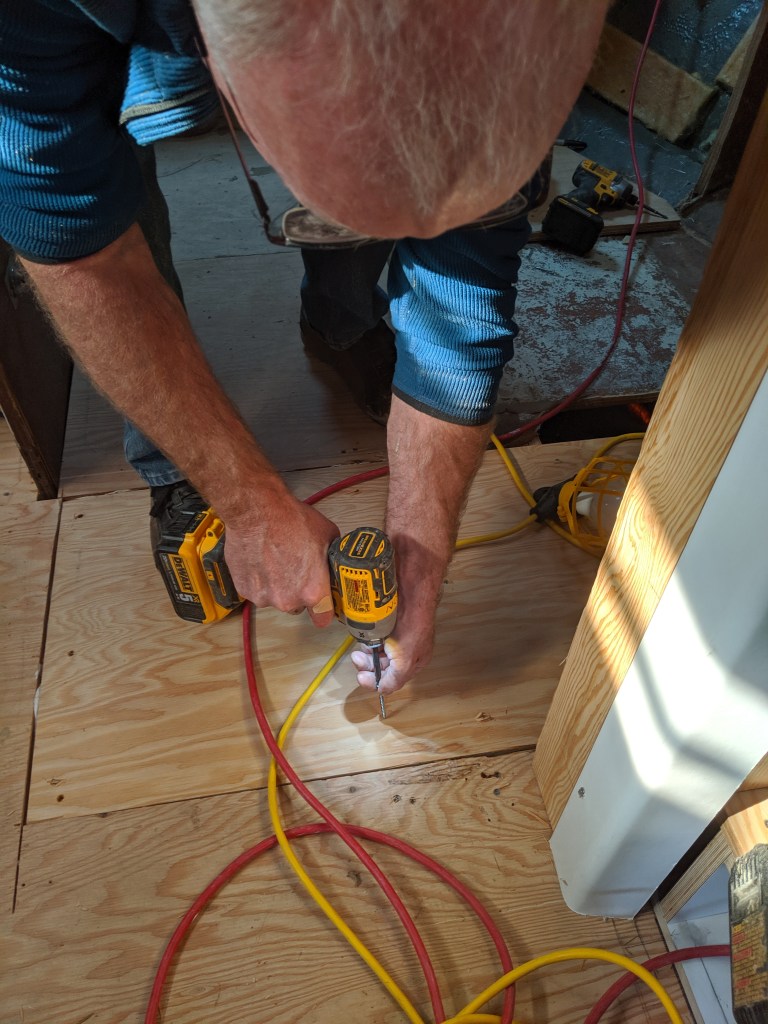
Today I loaded it up with marine adhesive…
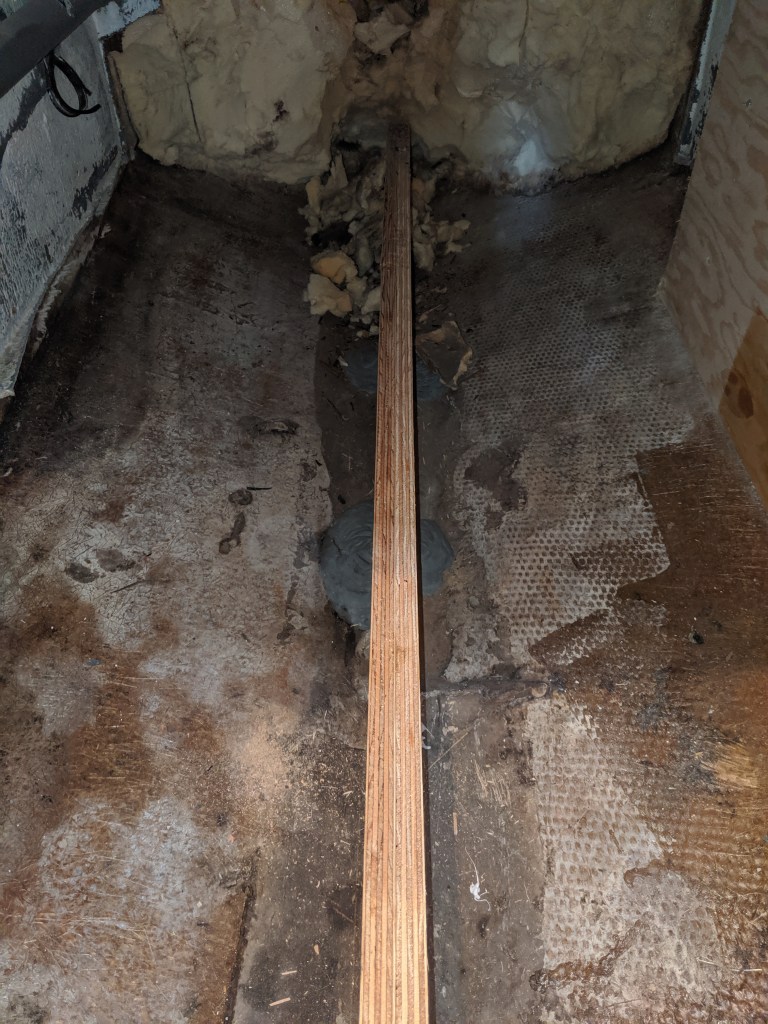
I will be fibreglassing this in this week. Once that is done we will lay down a sheet of plywood for under floor storage.
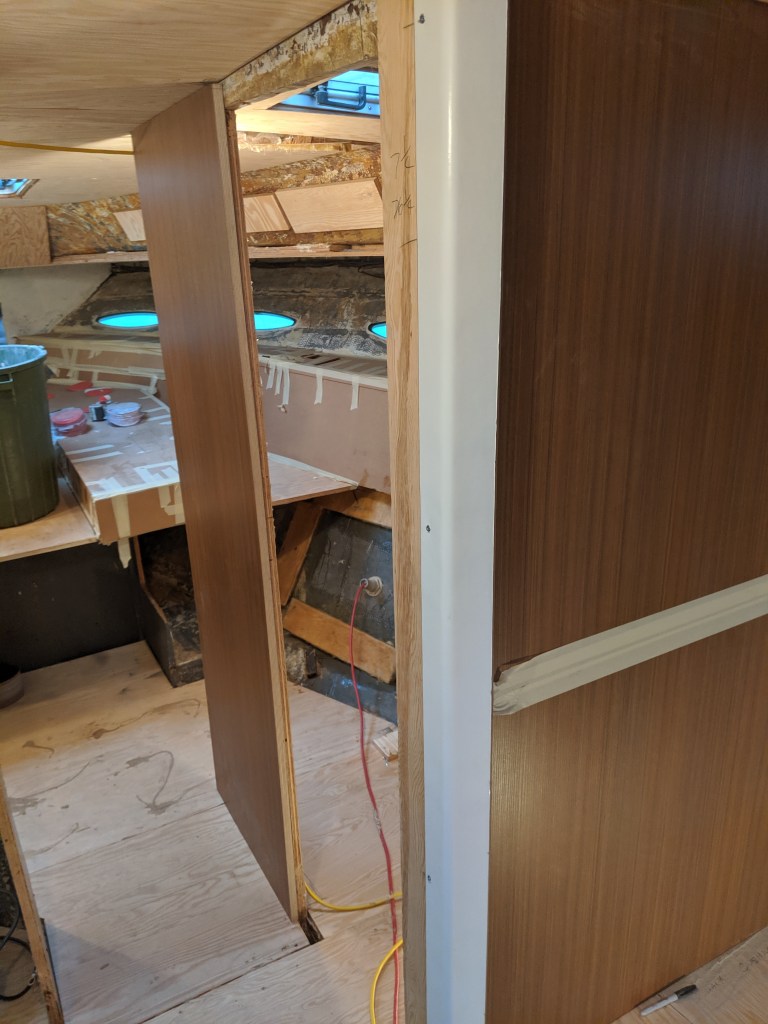
I started to build the bulkhead on the starboard side. These plywood strips will help me build this bulkhead against the curved ceiling.
It might be difficult to tell what we are trying to accomplish here but it will become clearer in future posts. It looks like a dog’s breakfast right now.
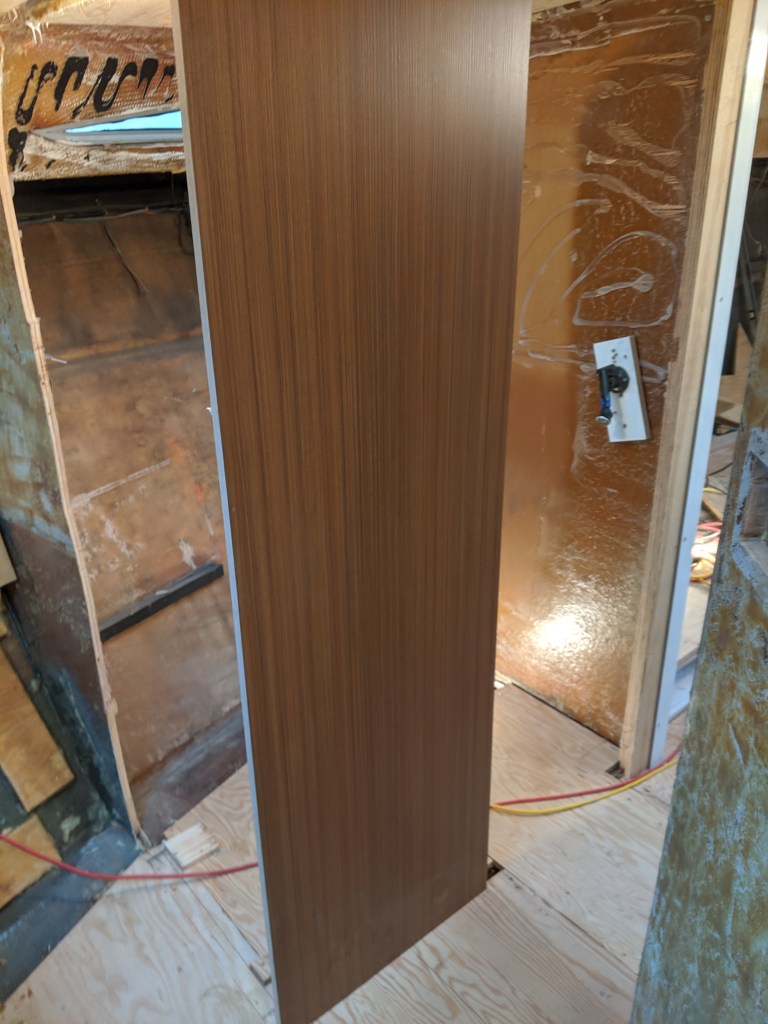
We put up another finished panel today!! That always make us happy.
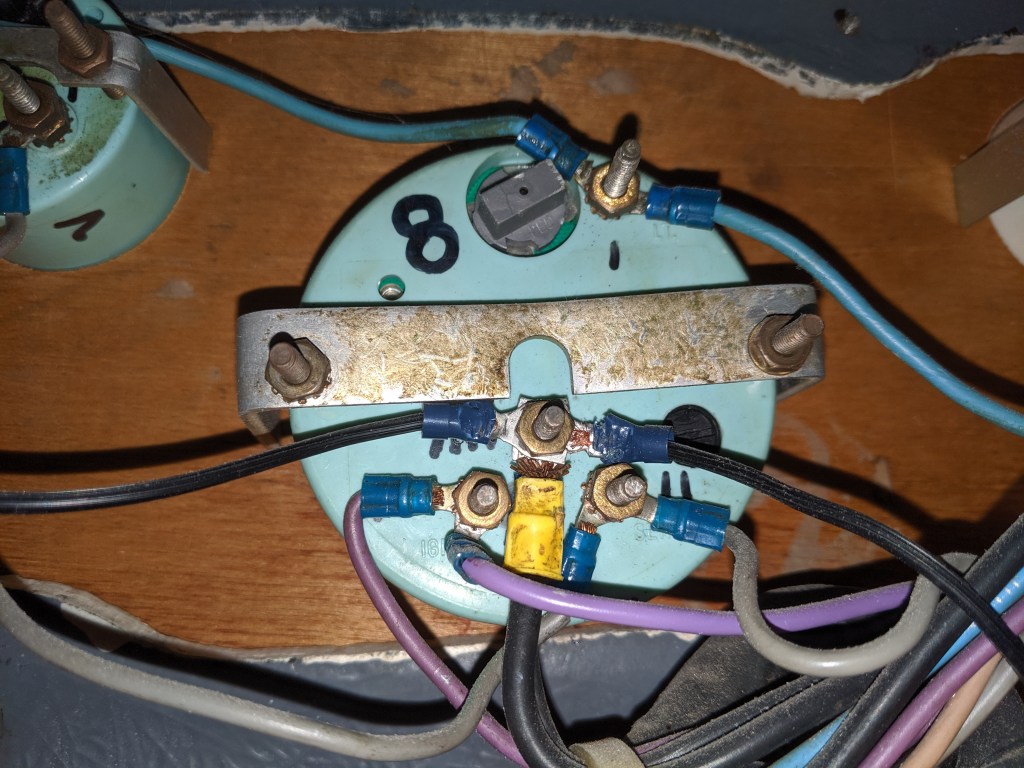
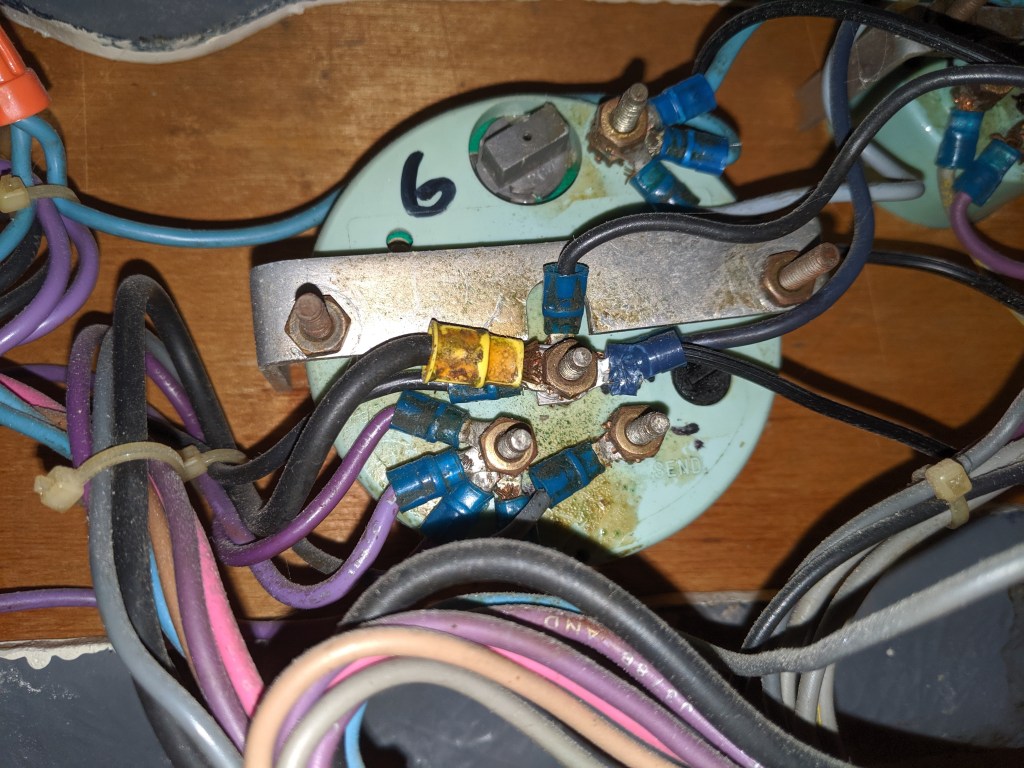
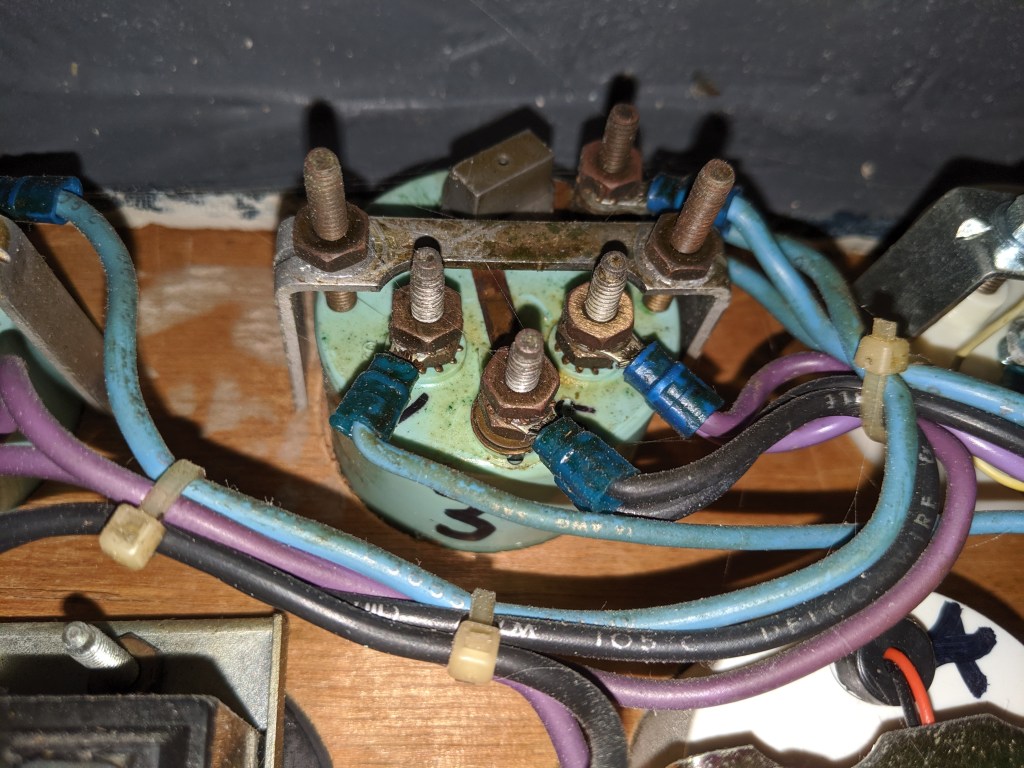
Finally I took photos of the backside of the gauges on the helm. These are to be replaced but I first need to label all of the wires properly. I printed these on paper and will use those to map it out. It would be a nightmare trying to reconnect the new gauges without doing this in advance.
We are still waiting for the company we hired to make the winter cover to come and measure for it. At this rate I don’t expect to see it until the 3rd week of November. Really hoping that we get it before the first snowfall.
That’s it for now. Until next time.

You guys are making great progress! Always looking forward to next post
LikeLike
Glad to hear that. Keep watching
LikeLike