
Lots to talk about.
Now that the demolition is complete we are definitely on to the exciting (and more expensive) part of the project. Every aspect of this renovation requires us to stand around for a while, scratching our heads, trying to figure out a solution.
It’s fun!
Nothing is normal and obvious when rebuilding a boat’s interior. There is no such thing as level or plumb.
Case in point….
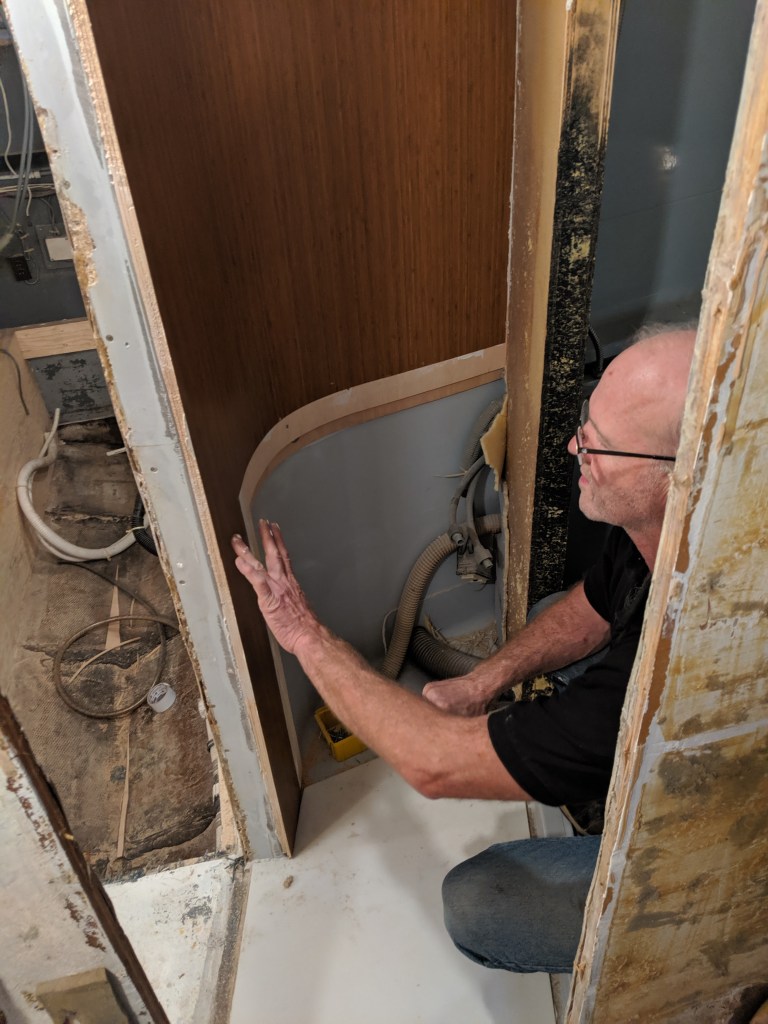
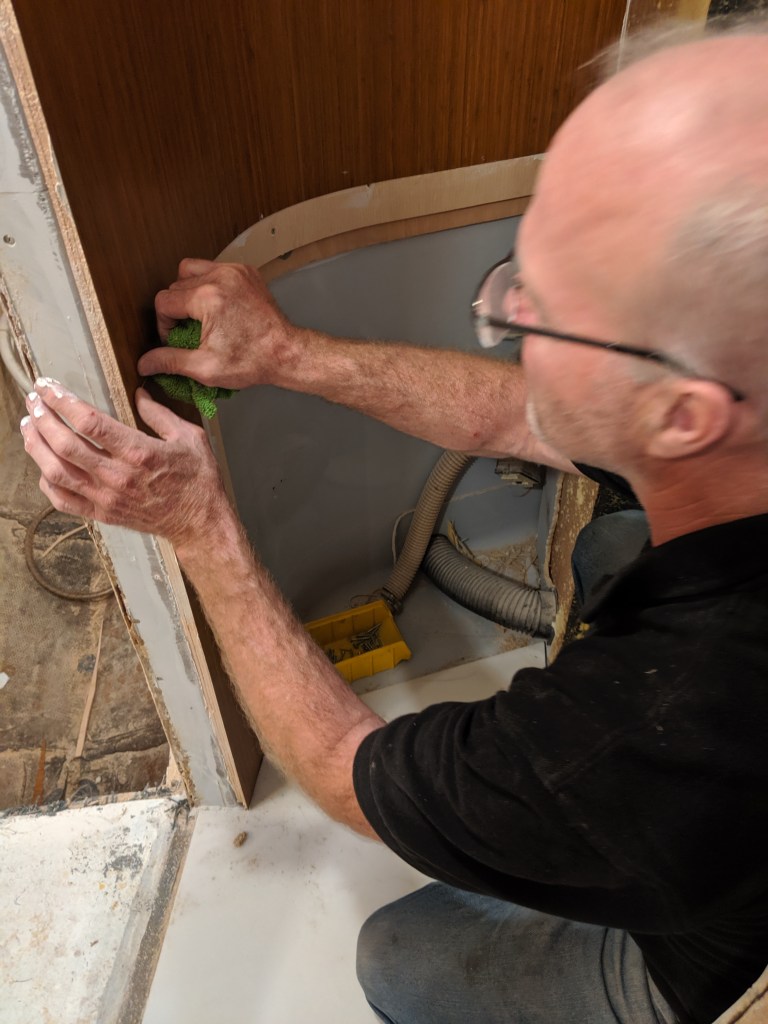
In these photos Donald is installing the laminate on the interior curved wall of the vanity area of the head. The laminate we are using is called Winter Cherry and has a straight grain. We used the corner to line up the laminate and trust that Searay got it right 32 years ago. We can’t use a level to check and see if the grain of the laminate is perfectly vertical. I think they got it right.

In the next couple of weeks Donald will be building the vanity. I will be starting to install the Corian at the opening to the shower.
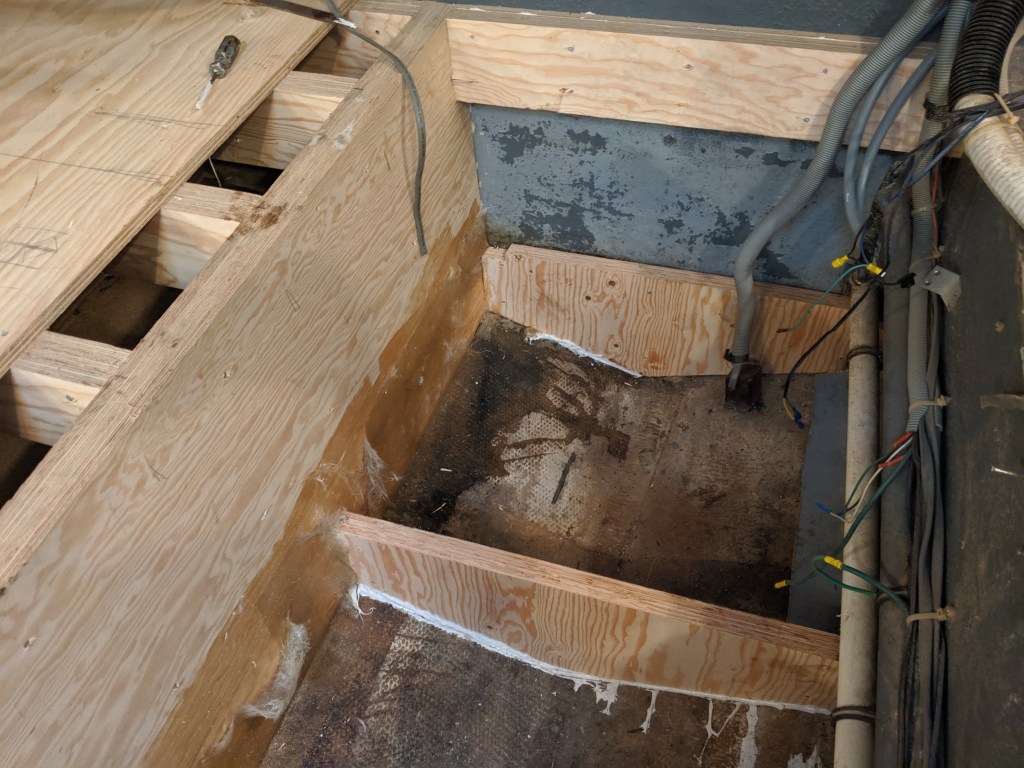
These are cross pieces under the area where the fresh water tank will be. These are fastened to the hull using a special marine adhesive. Over the next week I will be covering these with fibreglass. Once I do we will put down a full sheet of plywood and that will be covered with fibreglass to create a waterproof tray for the tank to sit in.
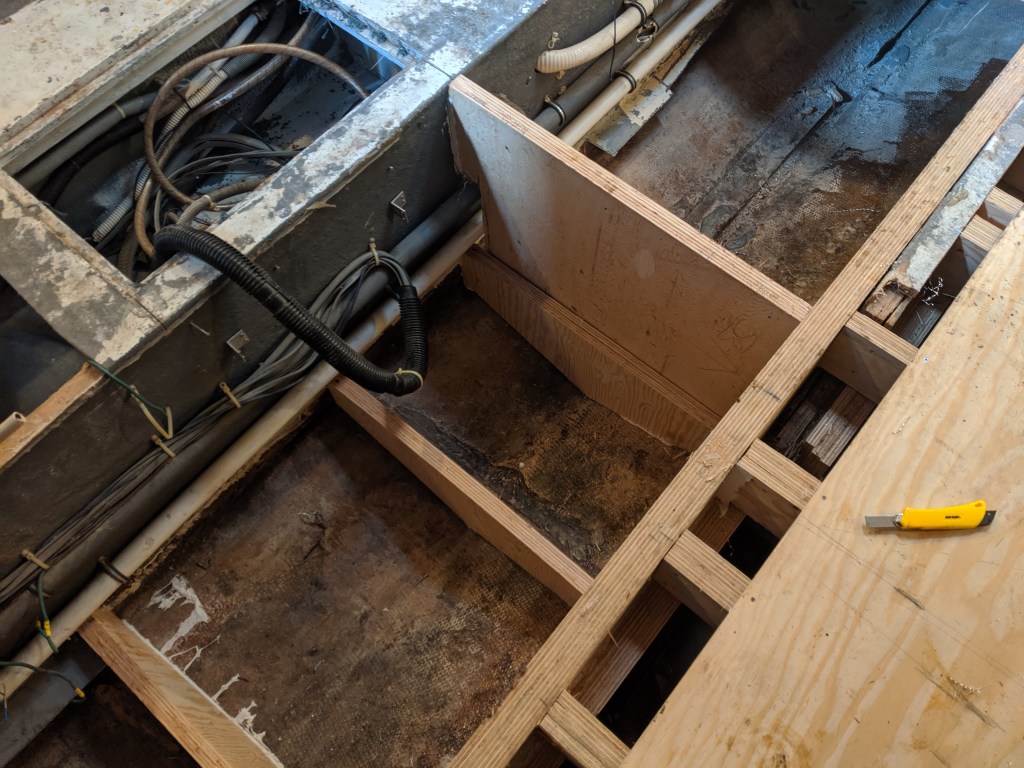
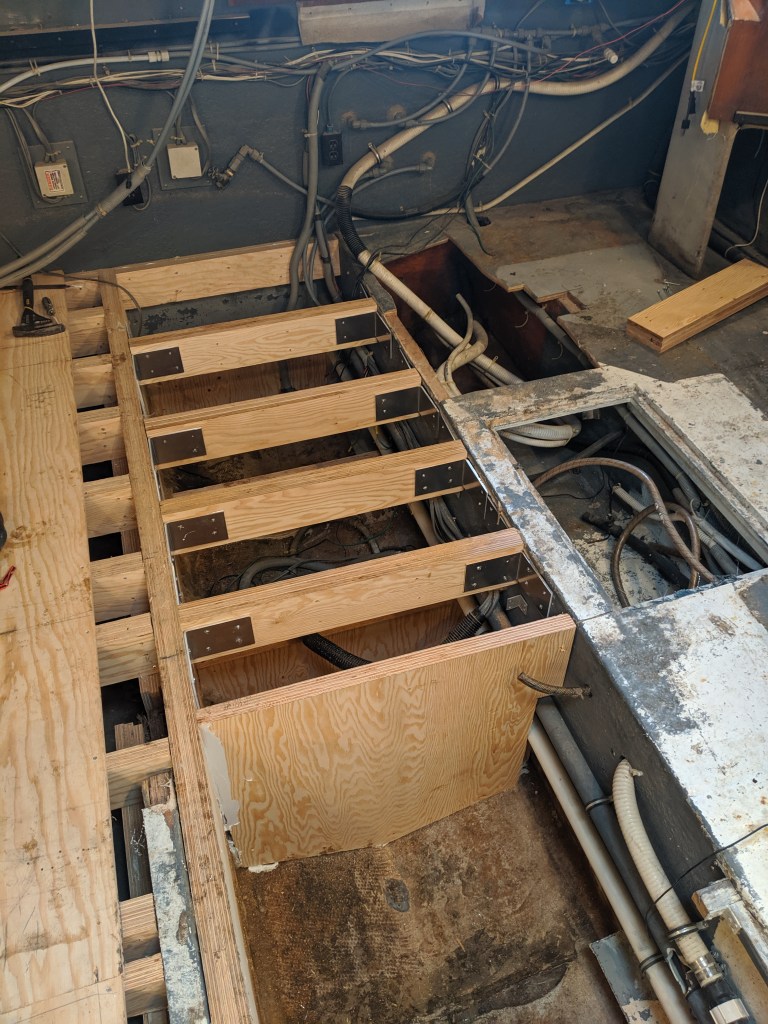
These joists are to be removable so we can install the water tanks.
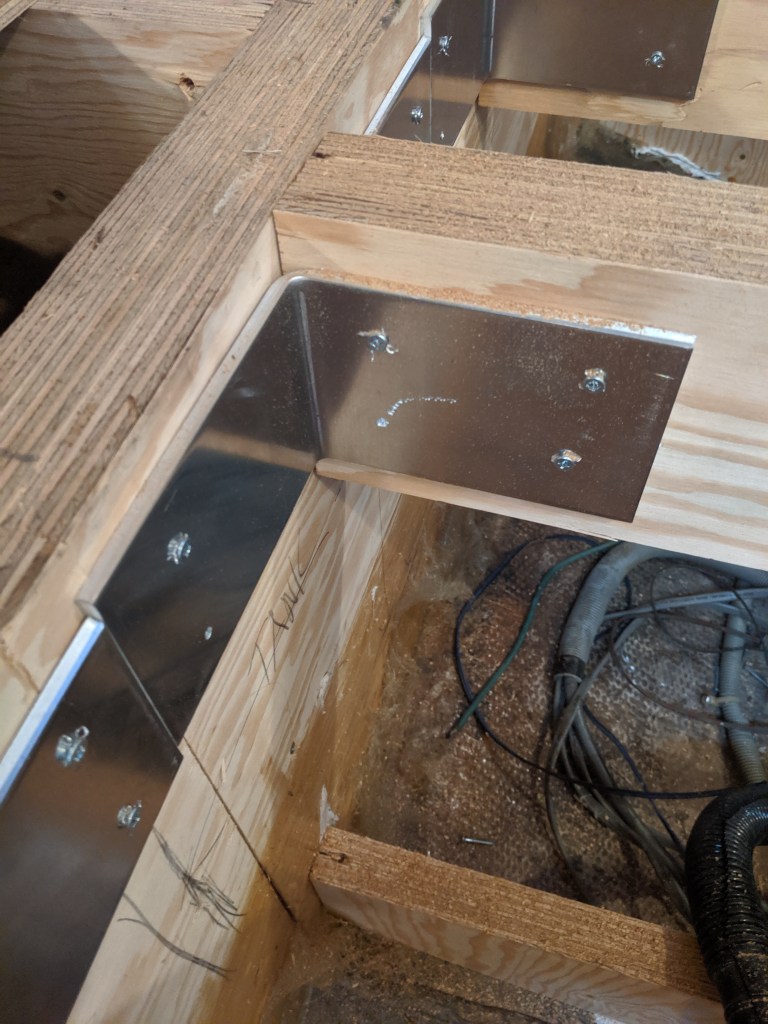
Heavy duty aluminum brackets hold them in place.
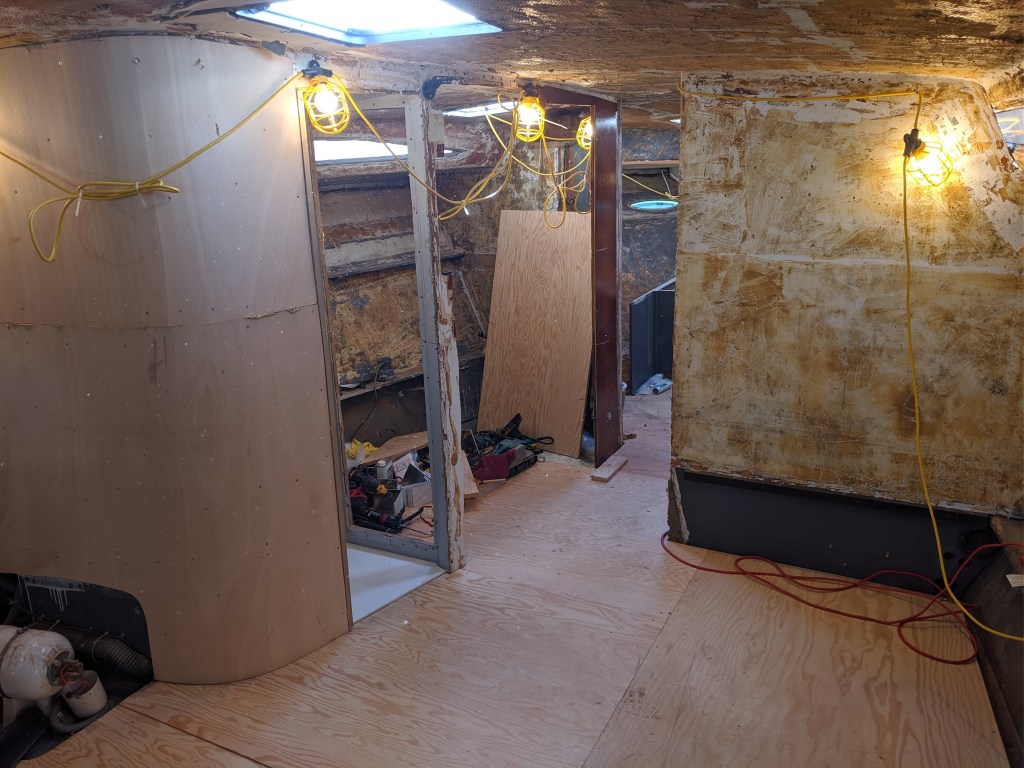
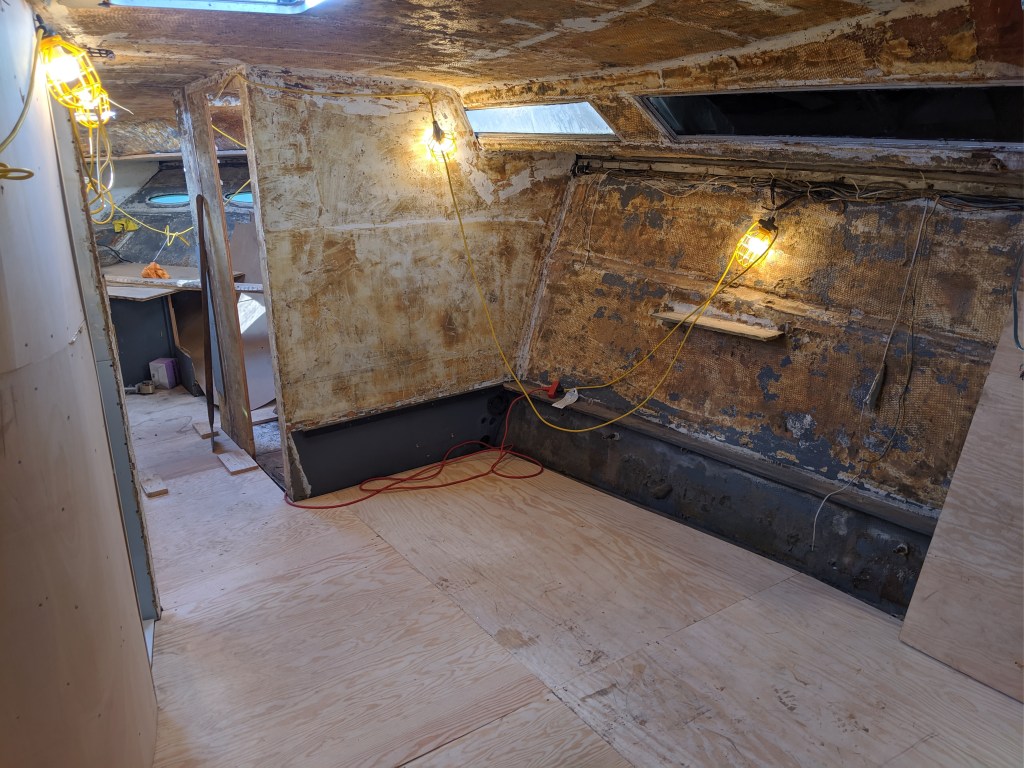

We installed the rest of the plywood floor which made us very happy. We still have to install the water tank as well as a smaller tank (with a sump pump) for the grey water from the shower and vanity sink. Once these are installed we can secure the plywood. When we do that we will also be building in some storage with a floor access panel.
Then we can start installing the floor covering. Hopefully we will get to this point in about 3 weeks.

We put a first layer of flexible plywood on the curved wall. Once we get the floor down we will put on the second layer which will even out the curved wall more and give us a good smooth surface to put our laminate on. Hopefully the weather stays warm long enough for us to get that done this year.

Donald and Tom had to get their rapidly aging bodies into some awkward positions to put some more plywood on the ceiling in the v-berth.
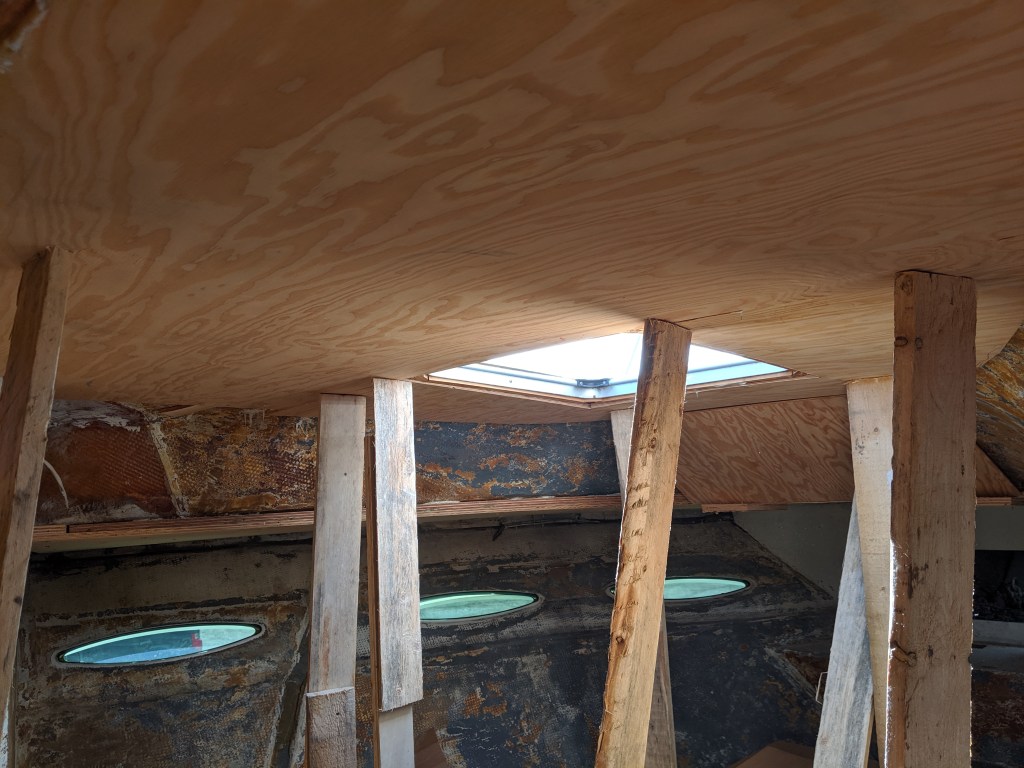

It is a slow process because the ceiling isn’t flat and there are curves and rounded corners.
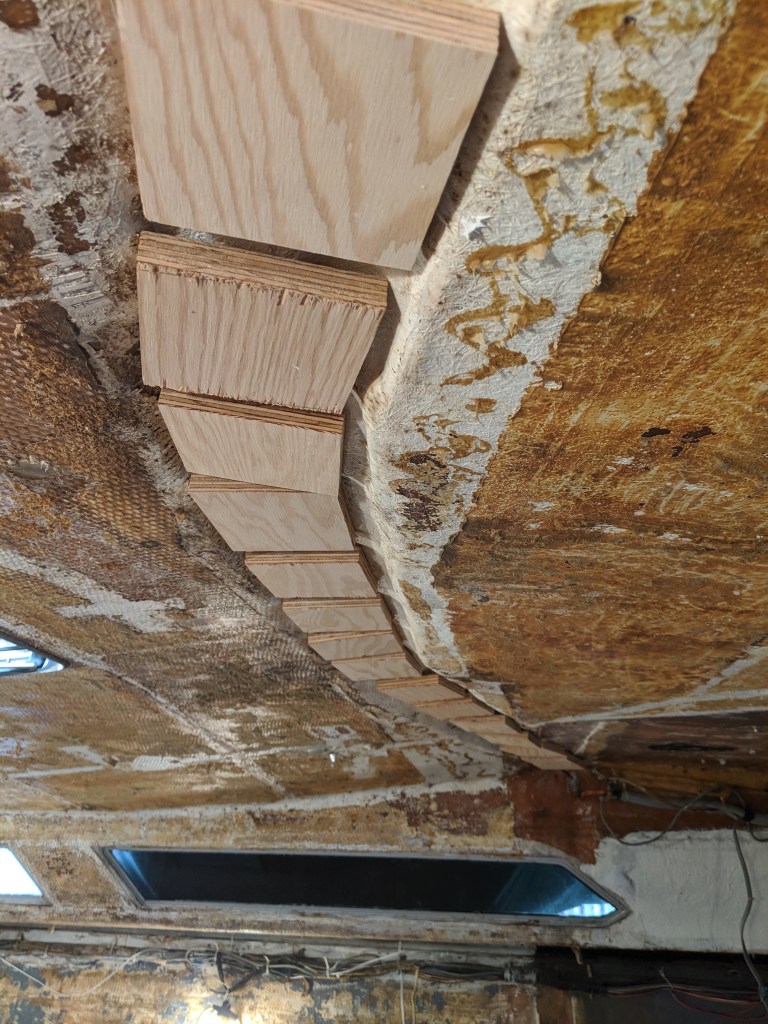

We installed small blocks in what I can only describe as a trough in the ceiling. This where the windshield is attached above. Filling this in will help us support the 1/2″ plywood to the ceiling.
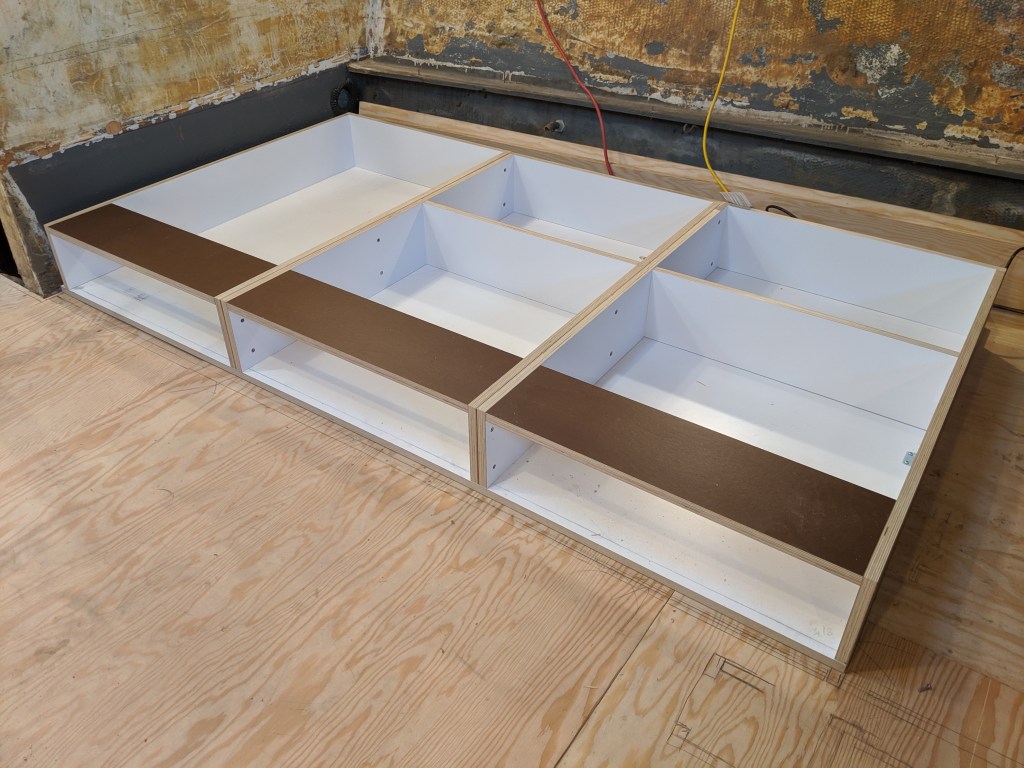
Finally we built and installed our first cabinet. It is the base for the platform in the seating area. There will be drawers underneath and an area to store the extra cushion that will help turn it into a bed.
I thought I would give you a look at what the interior of the salon and galley will look like.
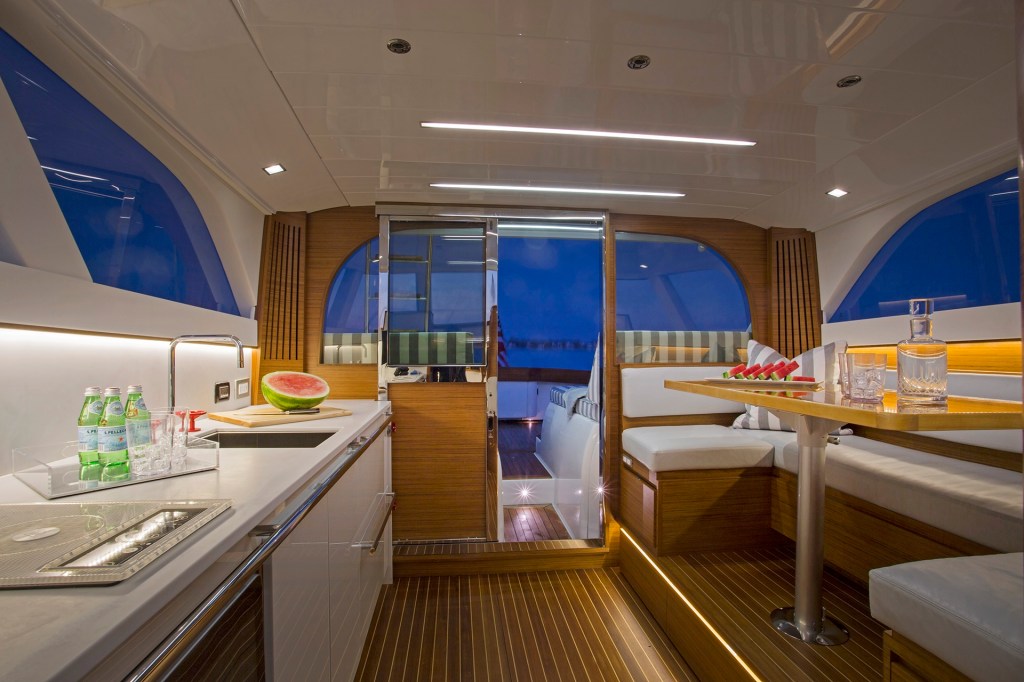

These two photos provided the inspiration for my overall design.

The four brothers involved in this project. From left to right…me (Michael), Jim, Donald, and Tom.

Sue and Leanne joined us for a bit. They didn’t do any work so I’m not sure why I am including them in this blog.
The race continues to beat the cold…

Wow, what a difference a day makes! It’s almost starting to look like a boat again. Almost. Keep up the good work, Sue and Leanne!
LikeLike
You never disappoint Jason…
LikeLike
Beautiful!
LikeLike
Very impressive fellas!!
LikeLike
It’s nice that Becky has such a skilled team. She deserves only the best.
LikeLike